After a long day on the trail, I crave a hot, simple dinner that soaks up the sunset as much as my appetite. I wrote this camp-friendly recipe so I can cook a hearty meal in a single skillet over a camp stove or a grate on the fire.
I use a large, deep skillet with a tight lid, long grain white rice, and shelf-stable cans to keep packing light. I brown meat and aromatics, stir in rice and broth, bring the mix to a full boil, then reduce to a gentle simmer for about 18–22 minutes.
After cooking I rest the dish 10–15 minutes, add a blanket of cheese, and cover to melt. These steps give a steady texture and easy serving at the picnic table, even when wind and cooler temps test my stove.
Key Takeaways
- Use a deep skillet with a tight lid for reliable simmering on a camp stove.
- Bring to a full boil, then simmer 18–22 minutes for long grain white rice.
- Rest 10–15 minutes after cooking, then add cheese and cover to melt.
- Pack canned tomatoes, beans, taco seasoning, and cooler-safe proteins.
- Scale the quantities to feed a group or trim for a couple’s portion.
- Keep cleanup minimal: skillet, spoon, and lid are all you need at the wash station.
Why I Make This Comforting Skillet Meal on Every Tent Camping Trip
Trail hunger needs a quick answer, and this mexican rice casserole does the job in about 30 minutes. I can feed a group at the picnic table and still have time to set up the tent or filter water.
I like that the method uses a single pan. Saving water at the campground wash station is a real win. The approach also tolerates propane stoves, backpacking burners, or a regulated campfire grate.
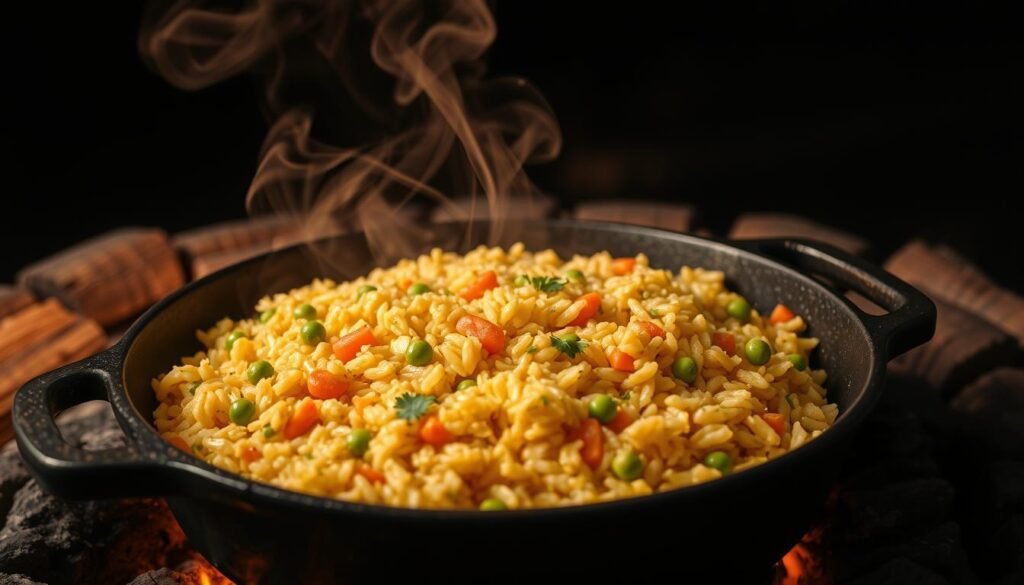
The recipe adapts to what I packed: ground beef, ground turkey, or diced chicken all finish well. I bring long grain white rice, bring the mix to a boil, then lower heat and simmer until tender.
- The flavor is bold with taco-style seasoning, fire-roasted tomatoes, and salsa—minimal effort, big payoff.
- Finishing with cheese and letting the skillet rest gives a creamier texture and easier serving.
- I slot this meal early in the trip when cooler ice is still firm and planning should be simple.
one pot mexican rice casserole: my camp-friendly recipe at a glance
A quick, rugged skillet method keeps dinner reliable when wind and shifting heat test my stove.
What makes it work outdoors in the United States
What makes it work outdoors
Outdoors, this method wins because I use forgiving, shelf-stable ingredients and a simple heat routine. I brown protein, add measured grains and liquid, bring to a full boil, then lower to a steady simmer.
I favor long grain white rice for consistent texture. If I switch to instant rice, I cut the simmer to 5–7 minutes and watch closely so it doesn’t overcook.
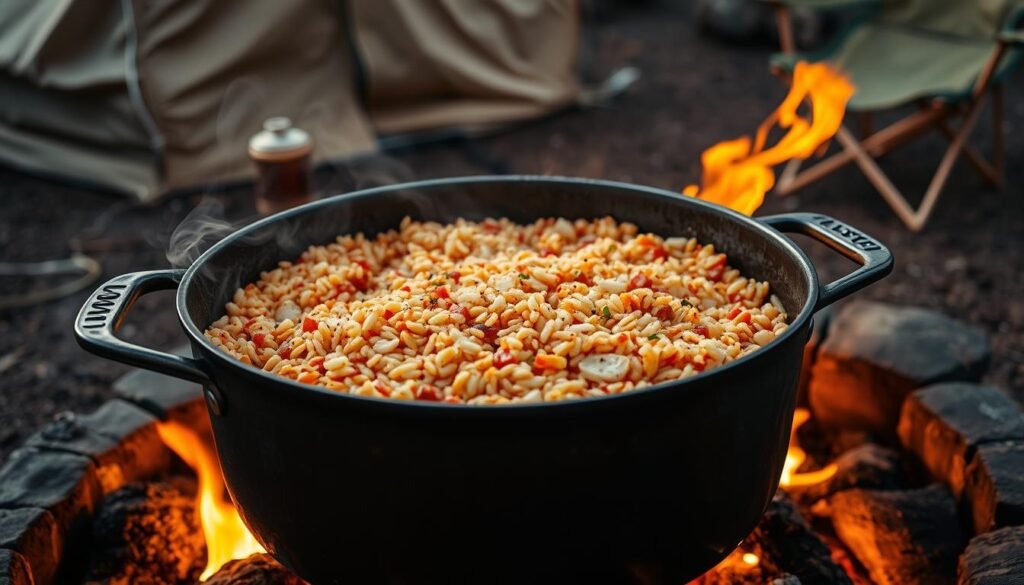
Total time, portions, and why this matters at a campsite
My total target is about 30 minutes: a short browning phase, then 18–22 minutes covered simmer after the boil. Resting with cheese under the lid finishes the meal and saves fuel.
Portions scale easily—plan roughly 1 cup cooked per person. I prep onion and seasoning ahead in small containers and pack measured rice in labeled bags for fast setup.
“A tight lid and steady simmer cut fuel use and cleanup—exactly what I need after a long day on trail.”
| Element | Typical Time | Camp Tip |
|---|---|---|
| Browning protein | 4–6 minutes | Use small cubes of chicken so it cooks during simmer |
| Bring to boil | 2–3 minutes | Cover to trap heat; use windscreen if needed |
| Simmer | 18–22 minutes (5–7 for instant) | Maintain a gentle, steady heat |
| Rest & cheese melt | 10–15 minutes | Cover and let sit on a cool grate or picnic table |
- Prep: pre-measure rice and seasoning for fast setup.
- Heat: two-burner propane works well where fires are restricted.
- Finish: a lid melt turns the skillet into an easy, shareable centerpiece.
Campsite Ingredient List with Smart Pack-and-Go Tips
I pack ingredients to cut prep time and keep the cooler light. Below I list what I bring and why, with simple measures so setup at camp is grab-and-cook.
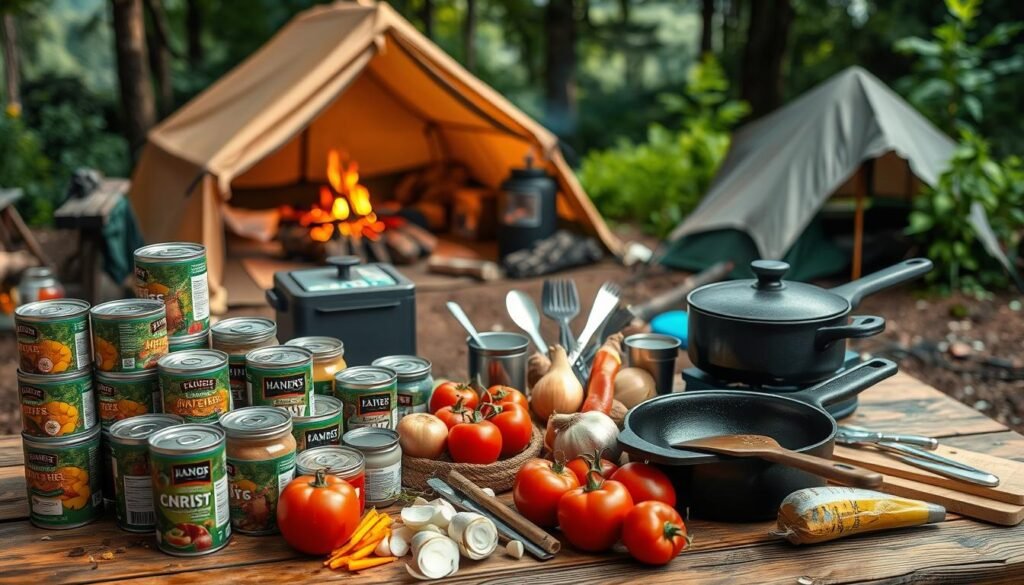
Proteins
I choose ground beef for rich flavor, ground turkey for lean packing, or cubed chicken for a lighter bite. I vacuum-seal 1 lb portions so they slide into the cooler with minimal space and waste.
Rice and liquids
Measure 1 cup long grain white rice into a labeled bag. I pack 1.5–2.5 cups broth per cup of rice and tuck a small extra water bottle for altitude adjustments.
Flavor builders
I bring a taco seasoning packet, a small onion, and a garlic clove. A can of fire-roasted tomatoes or Rotel (undrained) gives smoky depth without extra tools.
Mix-ins and toppings
Black beans, corn (frozen corn doubles as ice), and 1–2 cups shredded cheese finish the skillet. Lime, sour cream, and cilantro fit easily in a small tub for serving.
| Item | Pack Tip | Measure |
|---|---|---|
| Ground beef/turkey/chicken | Vacuum seal per person | 1 lb |
| Long grain white rice | Pre-measure in labeled bag | 1 cup |
| Broth (chicken/beef) | Shelf-stable box or conserve with water | 1.5–2.5 cups |
| Black beans & corn | Cans or frozen for cooler use | 1 can / 1 cup |
“Grouping ingredients into a ‘Night 1’ bag saves time and reduces waste.”
The Minimal Gear I Bring for a True One Pot Camp Cook
For tent trips I pare gear down to what keeps cooking simple and reliable. I favor tools that stand up to wind, rough tables, and dusk timing.
My core setup is compact and purpose-driven so I can focus on flavor, not fuss.
Essentials I pack
- I carry a 12-inch deep skillet with a tight lid so I can simmer rice reliably and melt cheese without losing steam.
- A sturdy spoon or spatula handles browning, stirring, and serving straight from the pan.
- My heat source is a stable propane camp stove; I keep a windscreen and spare fuel canisters for steady heat.
- A small cutting board and knife cover onion and garlic prep; most other items are can-open-and-dump to fit simple recipes.
Extras that make camp cooking easier
- Silicone trivet for uneven picnic tables and a lightweight ladle for fair portions.
- A thicker-bottomed pan avoids scorch spots; I skip thin metal that burns food.
- Long lighter and a headlamp so I can check the pot at dusk without lifting the lid.
Step-by-Step: How I Cook It on a Camp Stove or Over the Fire
When camp settles I move through a short, reliable routine that gets dinner on the picnic table fast. The method keeps fuel use low and flavor high so I can relax after a long day on trail.
Brown and season
I heat the skillet, add ground beef and diced onion with salt and pepper, and brown until no pink remains. I drain excess fat if needed to avoid a soggy texture.
Then I stir in garlic and taco seasoning for 30–60 seconds so the spices bloom in the fat.
Build the base
I add the uncooked rice, a measured cup of broth, fire-roasted tomatoes or salsa, corn, and beans. Stir so each grain is coated.
Bring the mix to a vigorous boil—this step seals the timing for even cooking.
Simmer and finish
Cover, reduce heat, and simmer 18–22 minutes until the rice is tender. At high altitude or in wind I nudge the heat to keep a gentle bubble.
Turn off the heat, fluff, scatter cheese on top, and cover to melt. Let the skillet rest 10–15 minutes so portions hold together before serving.
“A quick prep at home—measured rice and labeled spices—keeps this recipe steady on camp night.”
Easy Swaps and Flavor Twists for Trail Variety
A few simple swaps and tiny twists make this skillet dinner feel fresh on every trip.
I swap proteins depending on cooler space and mood. Chorizo adds a bold kick; cubed chicken breast gives a lean bite; doubling beans keeps it vegetarian and filling.
For lighter packing I bring ground turkey instead of ground beef. It cooks the same and leaves less rendered fat in the pan.
Spice and seasoning ideas
A small bag of chili powder, paprika, and cumin stretches far. Fresh jalapeño works if I have cooler room. I use fire-roasted tomatoes and a dusting of cumin when I want smoky flavor without extra tools.
Cheese and dairy-free choices
I rotate cheddar, pepper jack, or Colby for melt and bite. For dairy-free needs, a shelf-stable vegan shred still melts enough when the skillet rests.
| Swap | Why it works | Pack tip |
|---|---|---|
| Chorizo | Boosts spice and depth | Vacuum-seal or use small chilled pack |
| Chicken breast cubes | Lean, quick to cook | Pre-cut and frozen as cooler ice |
| Beans (double) | Fills in for meat; vegetarian | Canned beans are shelf-stable |
“Small swaps keep the timing and liquid ratios steady while letting flavor play.”
Camp Cook Troubleshooting: Crunchy or Mushy Rice Fixes
When the skillet betrays me with chewy or soggy grains, a few small moves usually save the meal.
Add a splash and steady the flame
I stir in about a 1/2 cup of broth or water, cover, and re-establish a gentle simmer. Wind or a hard flame can evaporate liquid fast, so I check the burner and lower the setting to reduce heat. Keep it covered until the grains are rice tender.
If the rice is mushy:
Drain, measure, and let it rest
Too much liquid or excess fat causes a soggy finish. I drain excess fat early, measure liquids carefully—remember canned tomatoes add cups of moisture—and let the covered skillet rest 10–15 minutes. Resting helps steam redistribute and firms the texture.
Boil first, then simmer
My trick for long grain success is a full boil, then reduce to a low simmer. At altitude I allow a few extra minutes and a small splash more broth. Rotate the pan if the bottom begins to stick and avoid lifting the lid often; steady low heat beats constant fussing.
| Problem | Quick Fix | Camp Tip |
|---|---|---|
| Crunchy grains | Add 1/2 cup broth or water, cover, simmer | Lower flame and use a windscreen |
| Mushy texture | Drain excess fat, rest 10–15 minutes | Measure liquids; undrained cans add moisture |
| Sticking bottom | Rotate pan, avoid stirring late | Use thicker skillet and steady low heat |
“Small adjustments get me back to rice tender without starting over.”
How I Serve, Top, and Store It Safely at the Campsite
A warm skillet on the picnic table makes serving effortless and social after a long day. I let the pan rest 10–15 minutes so the texture firms and spooning stays tidy. Then I set out bright, small bowls for toppings.
Serving ideas include lime wedges, extra salsa, chopped green onions, shredded cheese, and a dollop of sour cream. I add fresh ground pepper to taste and invite people to top their portion as they like.
Cooler-smart storage and reheats
To store safely at camp I spread a thin layer in a lidded container so it cools fast, then tuck it deep in the ice chest. If I used chicken or ground beef, I keep extra ice or packs to hold temps low.
I reheat gently in the same skillet with a splash of broth or water and the lid on. For added protein I stir in a small can of black beans while warming. A cup or two portioned ahead makes lunches easy.
“Cooling fast, reheating gentle, and topping bright keeps the meal fresh through the trip.”
| Action | Why | Camp Tip |
|---|---|---|
| Rest 10–15 minutes | Improves texture for tidy serving | Cover and leave on a cool surface |
| Cool in shallow container | Cools faster to safe temps | Place deep in cooler with ice packs |
| Reheat in skillet | Revives grains and melds flavors | Add 2–4 tbsp broth; keep lid on |
| Stir in black beans | Refreshes protein and stretches portions | Use small can while reheating |
Ready to Eat by the Fire: Let’s Dish Up This One Pot Favorite
As the stars appear, I spoon steaming portions from the pan and pass bowls around the picnic table.
Follow the simple rhythm: brown onion, garlic, and ground meat, stir in measured rice and broth, bring to a boil, then cover and simmer 18–22 minutes. I melt cheese and let the skillet rest 10–15 minutes so servings hold together.
The result is a reliable mexican rice casserole that travels well. Swap ground beef, ground turkey, or chicken, add corn and beans, and tweak taco seasoning to lift the flavor.
If you camp in a tent, grab a bowl, top with lime or cilantro, and enjoy this warm, easy meal under the stars.
FAQ
What makes this skillet meal ideal for camping trips?
I love it because it uses minimal gear, cooks in a single pan, and relies on shelf-stable ingredients like long grain white rice, broth or bouillon, canned tomatoes or salsa, and canned beans or corn. That keeps my pack light and my cooking simple at the campsite.
How much time does it take from prep to table?
From browning the ground beef or turkey with onion and garlic, then building the base and simmering, I plan 30–40 minutes total. Active prep is about 10–15 minutes; simmering the rice takes roughly 18–22 minutes until tender.
Can I swap ground beef for other proteins?
Absolutely. I often use ground turkey, diced chicken, or chorizo. For vegetarian trips I skip the meat and boost flavor with extra beans, corn, and a robust mix of chili powder, cumin, and smoked paprika.
What rice and liquid ratio do you use outdoors?
I use long grain white rice and roughly a 1:2 rice-to-liquid ratio by cups when using broth. If I add canned tomatoes or salsa, I reduce the added water slightly. At altitude or in cold conditions I watch closely and adjust with an extra 1/4–1/2 cup liquid if the rice looks dry.
How do you prevent crunchy rice at the campsite?
If the rice is still crunchy at the end of simmer time, I add 1/2 cup warm broth or water, cover, and keep a gentle simmer until tender. Avoid lifting the lid too often so steam stays trapped.
What do I do if the rice turns mushy?
My fix is to drain any excess liquid and remove the pan from heat. Let it rest covered for 10–15 minutes so the grains firm up. Next trips I measure liquids more carefully and reduce simmer time slightly.
Can I use frozen corn or fresh vegetables when camping?
Canned corn is the easiest, but I do bring frozen corn in a well-packed cooler for short trips. Fresh peppers, onions, and tomatoes work great if I expect cooler temps and a quick-use schedule.
Which spices and seasonings should I pack?
I carry taco seasoning packets or a small jar of chili powder, cumin, smoked paprika, garlic powder, and salt. A squeeze of lime and fresh cilantro finish the dish nicely when available.
Do you add cheese while still on heat or after removing from heat?
I sprinkle shredded cheddar or pepper jack on top, cover the pan briefly off the direct flame, and let residual heat melt the cheese. That gives a creamy finish without burning the dairy over a hot camp stove or fire.
How do you safely store leftovers at the campsite?
I cool leftovers quickly in a shallow container, then store them in a cooler with plenty of ice packs. I aim to eat refrigerated leftovers within 24 hours. Reheat thoroughly in the skillet until steaming hot.
Can I cook this over a campfire rather than a stove?
Yes. I use a heavy-duty skillet or Dutch oven set on a grate over coals, keep the heat steady, and watch for hot spots. Reduce flame sooner and rely on covered simmering to avoid burning the bottom.
How do I keep the recipe flexible for different portion sizes?
I scale ingredients by cups of rice: each cup of dry rice serves about two to three people. Multiply the liquid, protein, and seasoning proportionally and taste-adjust as needed while cooking.
Any tips for avoiding greasy or heavy results with ground beef?
I drain excess fat after browning or choose lean ground turkey or 93% lean beef. Adding beans and corn balances texture and reduces overall greasiness while boosting nutrition.
What cheese alternatives work for dairy-free diets?
I use dairy-free shreds made from coconut oil or tapioca, or skip the melt entirely and top servings with avocado slices, extra salsa, and chopped green onions for a creamy, satisfying finish.
Do you recommend using boxed broth or bouillon when space is limited?
For space and weight savings I bring bouillon cubes or powdered broth. I dissolve them in hot water at the campsite to get flavorful liquid without lugging cartons.
0 Comments