I still remember the first night I cooked for my small crew by the river — the air smelled like pine and smoke, and a simple skillet dinner felt like home.
I leaned on a compact one pot approach because it kept dishes low and the food hot when wind chased the flame. I design each recipe for a camp stove, grill grate, or coals, so you get reliable results with minimal gear.
I favor thighs for forgiving heat and quick cooking, and I build flavor with paprika, cumin, garlic, onion, sun-dried tomatoes, and stock so the rice comes out fluffy and the meat stays juicy.
At camp I prep a few ingredients at home, finish with fresh parsley, and check doneness until the internal temp reads 165°F. Leftovers cool fast and store airtight for 3–4 days when kept cold.
Key Takeaways
- Designed for tent camping: minimal dishes and camp-friendly workflow.
- Thighs stay forgiving with uneven heat; rice absorbs bold flavors.
- Flavor base uses paprika, cumin, herbs, garlic, onion, and stock.
- Follow safe temp checks — serve at 165°F; cool and store for 3–4 days.
- Pack cooler-friendly ingredients like sun-dried tomatoes and stock cubes.
Why I Rely on One Pot Chicken Thighs at the Campsite
At the campsite I trust a simple skillet method that handles wind, cold nights, and hungry friends.
Thighs stay forgiving. They render fat and keep moisture when heat shifts. That makes them safer than chicken breasts if a coals bank cools or a wind gust hits.
I keep gear light with a single pan or pot, which cuts wash-up and saves fuel. My best tips: pre-measure spices and salt pepper in small containers, pack oil tight, and protect onions and parsley in the cooler.
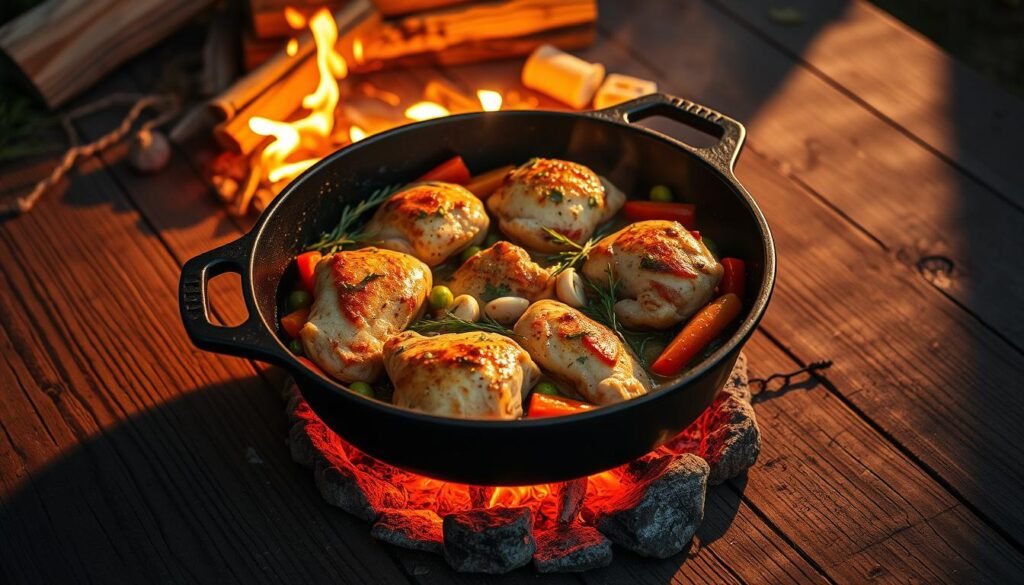
My method is plain: sear for flavor, add rice or veggies, nestle meat on top, then cover until it hits 165°F. This approach frees me to tend the fire and chat with the crew.
| Feature | Thighs | Breasts |
|---|---|---|
| Forgiveness with heat | High – tolerates extra minutes | Low – dries quickly |
| Fuel & cleanup | Efficient, one pan dish | Similar, needs careful timing |
| Flavor | Rich; handles bold seasonings | Lean; benefits from brine or sauce |
one pot chicken thigh recipes for the trail: what campers need to know
When the stove is fussy and daylight is limited, I aim for fast assembly and big flavor.
Fast, low-dish cooking wins on the trail. I design my meals so the skillet doubles as servingware and cleanup is quick. That saves fuel and gives you more time by the fire.
Field-tested spice combos are simple: smoked or sweet paprika, mixed herbs, garlic, and a pinch of salt pepper. I pre-mix those spices so I can scoop and go when the pan heats.
What makes thighs perfect for camp cooking
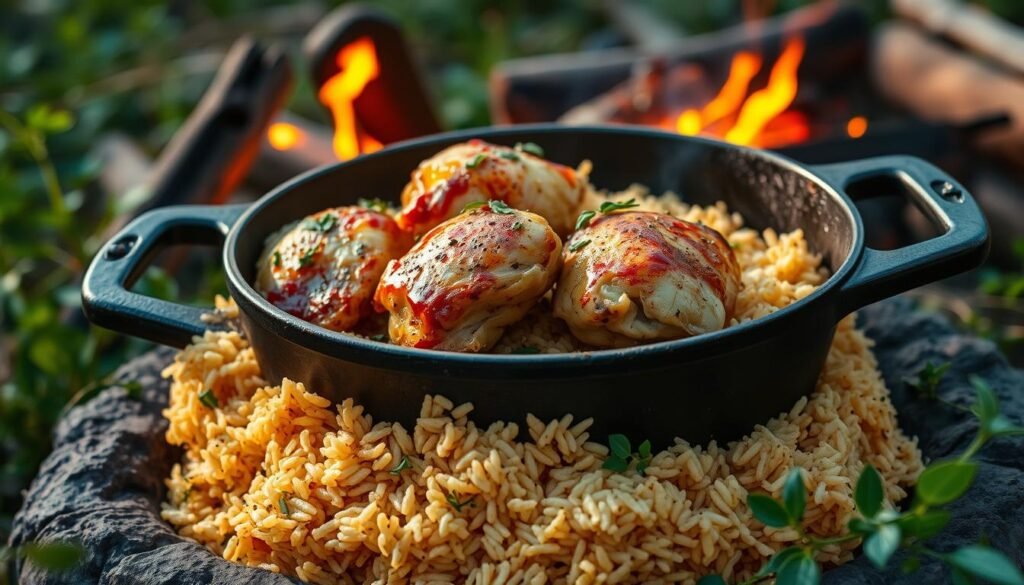
Higher fat keeps the meat forgiving when heat shifts. Sear for color, add rinsed rice and stock, then nestle the meat back and cover. Rinsing rice removes excess starch so long-grain or basmati cooks fluffy in about 15–30 minutes depending on heat.
“If anything sticks, splash stock to deglaze and scrape the bottom — it saves dinner and adds flavor.”
- Fast assembly, simple seasoning, and minimal gear.
- Vegetables like cherry tomatoes or bell pepper tuck in easily.
- The method scales: sear, add rice and liquid, return meat, cover until done.
Camp-Ready Gear and Ingredients I Pack
My gear list focuses on durable pans and a tight lid so meals cook predictably outdoors.
Skillet, Dutch oven, or deep-sided pan
I pack a 10–12 inch skillet for direct-flame control, a camp Dutch oven when I want covered simmering like an oven, and a deep-sided pan for bigger groups.
That combo lets me sear, simmer, and finish under a lid without hauling a full kitchen.
Heat sources I rely on
On a camp stove I get steady heat and quick adjustments. On a grill grate or charcoal bed I think in zones and watch the bottom so nothing scorches.
With coals I move a pot or add or remove embers to tweak temperature mid-cook.
Pantry MVPs and fresh add-ins
My small kit: long-grain rice, stock cubes, paprika, mixed herbs, garlic, and onions—plus a little olive oil to start a sear.
Fresh items that travel well: scallions, parsley, cherry tomatoes, and spinach. I pre-chop aromatics at home and bring a measuring cup for consistent stock ratios.
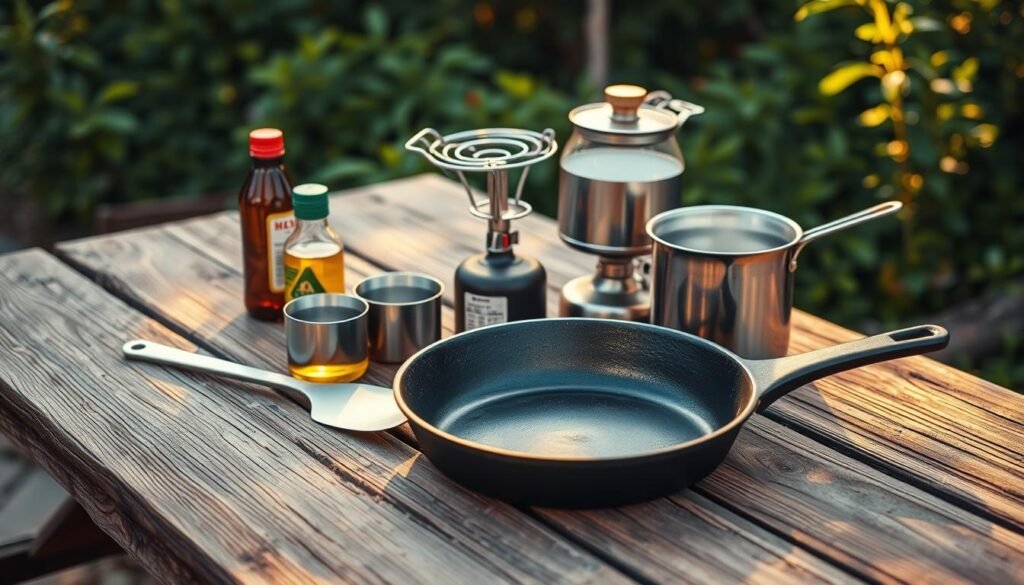
- I heat oil first, then add garlic and onions to protect the bottom and build flavor.
- A tight-fitting lid is a must for trapping steam so rice cooks evenly; a Dutch oven lid doubles as a heat diffuser.
- With this kit I can switch between searing, simmering, and covered cooking without extra weight.
My One Pot Chicken Thighs and Garlic Rice (Camp Dutch Oven)
When coals are ready, I set the Dutch oven over a flat bed and focus on steady heat for a simple rice dinner.
Ingredients at a glance
Pantry and fresh: chicken thighs, white or long-grain rice, garlic, spring onion, finely diced bell pepper, sun-dried tomatoes, mixed herbs, stock.
Step-by-step over coals
- Heat the pan over even coals and add a splash of olive oil. Season thighs with paprika, cumin, and a pinch of spices, then sear skin side down until browned.
- Stir in garlic, spring onion, bell pepper, and sun-dried tomatoes. Add rice and toss to coat so grains pick up flavor.
- Pour in dissolved stock (roughly 1.5 cups rice to 2.5–3 cups liquid), nestle the meat back on top, and sprinkle salt and black pepper.
- Secure the lid and set the Dutch oven over balanced coals. Expect about 25–35 minutes; check for tender rice and 165°F on the meat.
Heat management
I use a modest ring of coals under the bottom and a lighter ring on the lid for even radiant heat. I rotate the lid every 10–12 minutes to avoid hot spots and keep the bottom from scorching.
Rice choices at camp
I prefer white or long-grain rice because it cooks faster and is more forgiving with variable coal strength. Brown rice uses more time and liquid outdoors, which stresses fuel and timing.
Garnish and simple sides
Finish with chopped parsley and serve with quick steamed greens set above the lid or over steam for a few minutes. Leftovers store airtight and chilled quickly for another meal.
“If steam slows, add a quarter cup of hot liquid, replace the lid, and give it a few more minutes.”
Skillet Chicken and Rice on a Camp Stove
On a camp stove I rely on a hot skillet to move from sear to simmer in tight minutes.
Make the seasoning: mix smoked paprika, mixed herbs, onion powder, and garlic powder. Pat the meat dry so it sears cleanly in a splash of olive oil in the pan.
Sear until golden, then remove and sauté a diced onion until soft. Stir in rinsed rice and toast for a minute so grains stay separate and nutty.
Deglazing for fluffy rice
Pour in hot stock and scrape the browned bottom to deglaze. That liquid lifts flavor and stops burning.
Finish under a lid
Return the meat, nestle it into the rice, season with a pinch of salt pepper, then cover and cook 15–20 minutes over low to medium heat. Check that rice is tender and the internal temp reads 165°F.
- If the pan chicken looks dry on top, nestle pieces into the rice to absorb sauce.
- Rest off heat for a few minutes under the lid, then finish with scallions or a lemon squeeze.
One Pan Tuscan Chicken Thighs (Creamy Spinach and Tomatoes)
A creamy Tuscan skillet is an easy way to get restaurant-style comfort while camping. I brown boneless thighs in a hot pan with a splash of olive oil until they form a golden crust, then set them aside while I make the sauce.
Sear, sauté, and deglaze
I melt a knob of butter and sauté diced onion and garlic until fragrant. I toss in cherry tomatoes to blister, then deglaze the bottom with warm chicken bone broth to lift every tasty bit.
Build the creamy finish
Sun-dried tomatoes add concentrated flavor without filling the cooler. I stir in a handful of spinach until it wilts, then add heavy cream and grated parmesan at the end so the sauce stays silky.
Camp tweak: simmer, don’t oven
Instead of finishing in an oven, I return the meat to the pan and simmer gently for a few minutes. Keep the lid slightly ajar to control steam and pull the pan off heat briefly if your flame runs hot.
Serve it straight from the pot with crusty bread or spooned over rice. I season with a pinch of black pepper and let everything rest a minute before serving. The dish comes together in minutes once ingredients are prepped.
| Step | Action | Camp tip |
|---|---|---|
| 1 | Sear boneless thighs in olive oil | High heat, short sear for color |
| 2 | Sauté onion and garlic; blister tomatoes | Use butter for flavor and bottom protection |
| 3 | Deglaze with bone broth; add sun-dried tomatoes and spinach | Lift fond for deeper flavor |
| 4 | Stir in cream and parmesan; return meat and simmer | Simmer gently, check 165°F before serving |
Smart Swaps and Variations I Use Outdoors
When supplies run short at camp, small swaps keep the meal on schedule and tasty.
Drumsticks work well if thighs are missing. I give them a few extra minutes at low simmer until the internal temp hits 165°F and the juices run clear. That simple swap keeps the method the same and saves time packing.
To lighten a creamy finish, I swap heavy cream for half-and-half and add it off the heat so it doesn’t split. I also toss in spinach or frozen vegetables in the last few minutes; they wilt fast and stretch the pan.
For flavor twists I use smoked paprika and cumin, or Italian herbs mixed into my seasoning. A squeeze of lemon brightens the whole dish before serving.
“If you switch rice types, add stock by the splash until grains are tender.”
| Swap | Effect | Camp tip |
|---|---|---|
| Drumsticks for thighs | More cook time; sturdy flavor | Simmer gently; check 165°F |
| Half-and-half for cream | Lighter finish; less fat | Add off heat to avoid splitting |
| Spinach/frozen vegetables | More volume; quicker greens | Stir in last 2–3 minutes |
| Breasts (if used) | Lean; cooks faster | Moderate heat; nestle in sauce to keep moist |
My packing must-haves: a small bottle of olive oil and a jar of olive-packed sun-dried tomato oil for instant flavor lift. These tiny items make every pan feel a bit more deliberate and delicious.
Timing, Serving, and Safe Storage at Camp
I plan my cook time to match the stove, altitude, and how hungry the crew is. That helps me control fuel and avoid rushed serving when the sun drops.
Cook times and temperature checks
Most rice-based meals take about 25–35 minutes from sear to rest, depending on flame strength. I watch for tender rice and confirm the meat reaches 165°F in the thickest piece before serving.
Adjusting liquids and lids
If rice is still firm after the expected minutes, I add a few tablespoons of hot stock, replace the lid, and give it more low heat time. This saves fuel and stops overcooking the top.
Leftovers and safe cooler storage
I portion food into shallow, airtight containers so it cools quickly in the cooler. Keep containers high and dry to avoid meltwater contact and track ice so food stays cold.
- Reheat until piping hot with visible steam; stir to heat evenly, especially with onion or chunky veg.
- I avoid relying on an oven at camp; covered simmering is safer and uses less fuel.
- For breasts, keep pieces in the saucy rice so they stay moist during reheating.
“A small thermometer removes guesswork—it’s the lightest piece of kit that pays for itself.”
| Item | Typical time / minutes | Camp tip |
|---|---|---|
| Rice-based meal | 25–35 minutes | Add hot stock by tablespoons if grains are firm |
| Check internal temp | 165°F target | Probe thickest piece before serving |
| Leftover storage | Cool quickly; keep cold | Shallow airtight containers; keep above meltwater |
Ready to Cook Fireside? Tag me from your campsite
There’s a special satisfaction in scooping steaming rice from a hot pan and watching smiles spread around the fire.
If you make a recipe from this list, tag me. I want to see your camp setups and how you plated pan chicken — skillet sear or Dutch oven simmer both work well for serving.
Share which sides you paired it with: a quick side of steamed greens, warmed tortillas, or crusty bread. Don’t skip the finishing touches — a sprinkle of parsley, a crack of black pepper, and a pinch of salt lift every bowl.
Tell me which one pan version you tried, if you boosted the rice with extra vegetables or herbs, and what cup ratios worked at your altitude. I’ll reshare favorite spins and lantern-lit photos. See you by the fire.
FAQ
How long does it take to cook thighs and rice together over a camp stove?
I usually budget about 25–35 minutes total. I sear the meat first for 6–8 minutes, then add rice and liquid, cover, and simmer until the rice is tender and the internal temperature of the meat reaches 165°F.
Can I use boneless cuts instead of bone-in when camping?
Yes. Boneless breasts or thighs cook faster, so I reduce simmer time and watch closely to avoid drying out. I also lower the heat after searing and keep a lid on to retain moisture.
What pan should I pack — skillet, Dutch oven, or deep-sided pan?
I bring a cast-iron skillet for stovetop trips and a Dutch oven for campfires. The skillet is lighter for quick meals; the Dutch oven gives even heat for rice dishes over coals.
How do I prevent rice from sticking when I cook outdoors?
I always deglaze the pan after searing with a splash of stock or water, stir in the rice, and keep a low simmer with a snug lid. Using a bit of oil at the start also helps.
What seasonings travel well and boost flavor at a campsite?
I pack smoked paprika, garlic powder, onion powder, mixed Italian herbs, salt, and black pepper. They’re compact and elevate simple meals without fresh pantry needs.
Can I swap white rice for brown or other grains while camping?
You can, but I prefer white or long-grain for trips because they cook faster and are more forgiving. If I use brown rice, I precook slightly or add more liquid and time.
How do I manage heat with coals for even cooking?
I place coals under the Dutch oven for direct heat and scatter some on the lid to create a top heat source. Rotating the lid and moving hot coals around helps avoid hotspots.
What fresh ingredients hold up best in a cooler for several days?
I rely on scallions, parsley, cherry tomatoes, and baby spinach. They stay fresh longer in a chilled cooler and brighten meals without much prep.
How should I store leftovers safely at a campsite?
I cool food quickly, pack in airtight containers, and keep them at or below 40°F in an insulated cooler with plenty of ice. I reheat until steaming hot before eating.
Any tips for making a creamy sauce without heavy equipment?
I use shelf-stable half-and-half or evaporated milk and stir it in at the end over low heat. Adding grated Parmesan melts quickly and thickens the sauce without a blender.
What’s the best way to check doneness without a thermometer?
I always carry a small instant-read thermometer, but if I don’t, I cut into the thickest part to check juices run clear and there’s no pink. A thermometer is the safer option.
How do I adapt recipes for drumsticks or other substitutes?
I extend cooking time by 10–15 minutes for drumsticks, and I tuck them into the rice so they cook through evenly. Bone-in pieces need lower heat and longer simmering than boneless cuts.
Can I make these meals vegetarian at the campsite?
Absolutely. I replace meat with hearty mushrooms, canned chickpeas, or firm tofu, boost the seasoning, and use vegetable stock to build depth and body.
What oils or fats do you recommend packing?
I bring a small bottle of olive oil for searing and a stick of butter for finishing. Olive oil is versatile and lightweight, while butter adds richness to sauces and rice.
Any simple garnish ideas to make a meal feel special outdoors?
I top dishes with chopped parsley, a squeeze of lemon, or a few torn basil leaves. A sprinkle of grated Parmesan or cracked black pepper also makes a big difference.
0 Comments