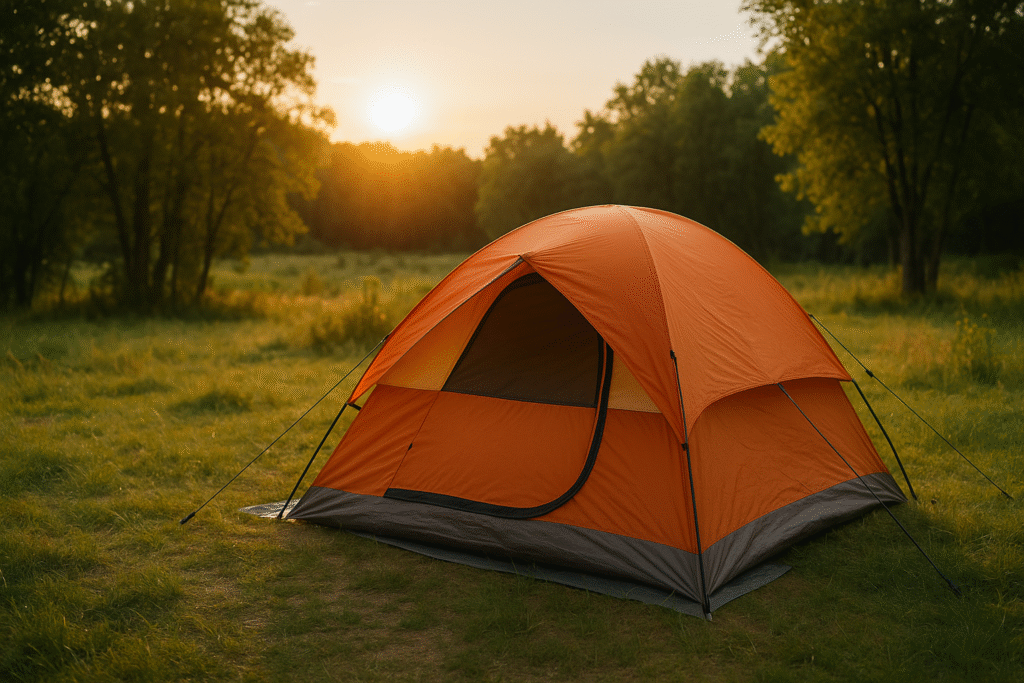
Introduction: Ready to Pitch Your First Camping Tent?
So, you’ve decided to head outdoors and sleep under the stars — exciting, right? But here’s the question that every camper faces: how do you actually choose, set up, and use a camping tent without it becoming a stressful mess?
I’ll never forget my first trip. I arrived at the campsite late, the sun was already dropping, and I ended up fumbling with poles and rainflies in near darkness. Let’s just say I woke up with a damp sleeping bag and a whole new appreciation for tent know-how. The good news? Setting up and using a camping tent doesn’t have to be complicated. With the right steps, some practical tips, and a bit of preparation, you’ll be a pro in no time.
This guide will walk you through everything you need to know about camping tents — from choosing the right one to setting it up, maintaining it, and enjoying cozy nights outside.
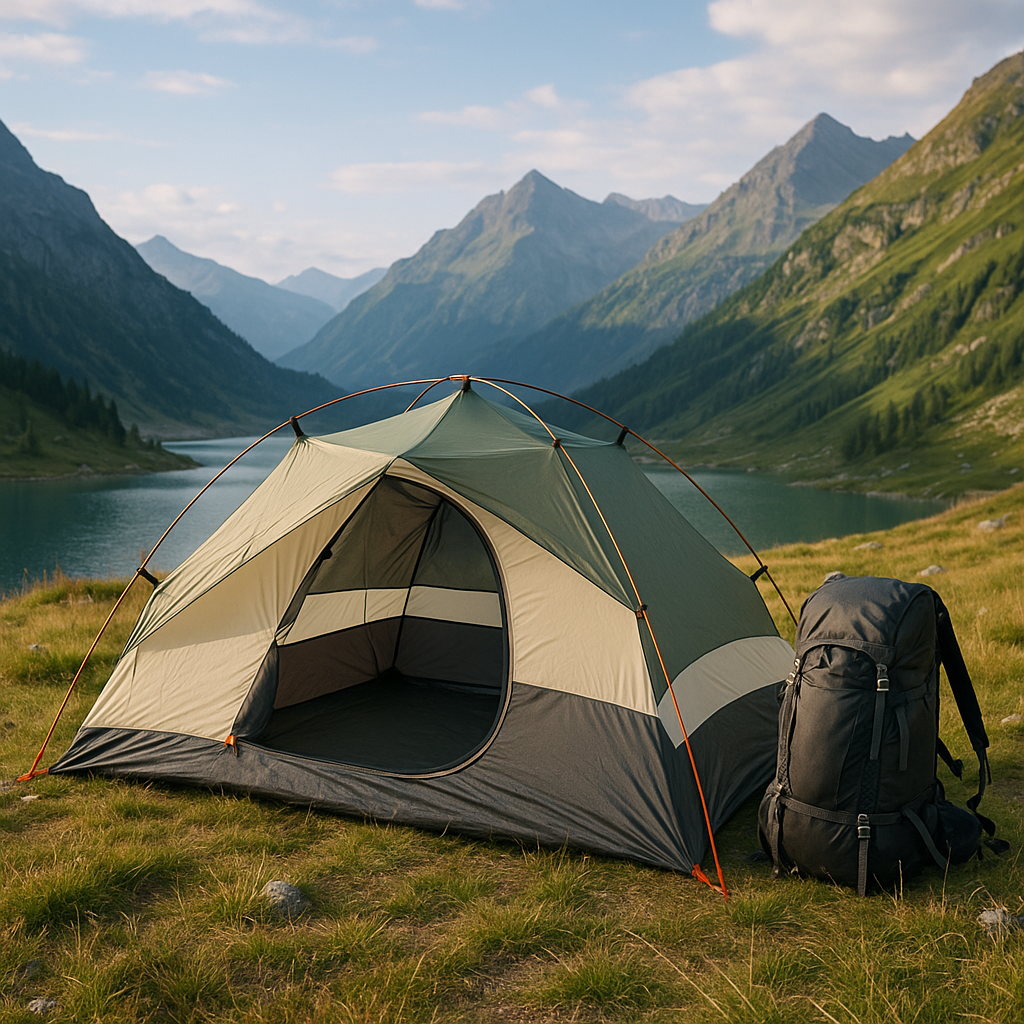
Step 1: Choosing the Right Camping Tent
Before you even roll out your sleeping bag, you’ll need a tent that matches your adventure. Here’s what to consider:
Tent Size Matters
- Solo or Duo Camping? A 1–2 person tent is lightweight and easy to carry.
- Family Adventures? Look for 4–6 person tents with separate rooms or dividers.
- Group Comfort: Always size up — if you’re two people, a 3-person tent often feels much more comfortable.
Tent Styles
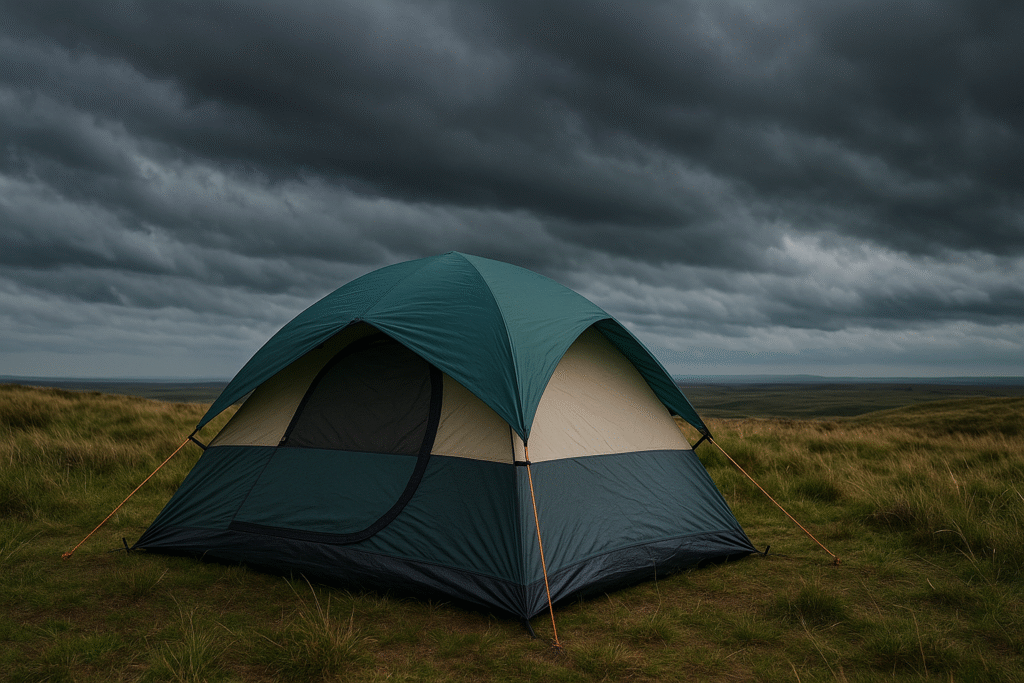
- Dome Tents: Easy to set up, lightweight, and stable in wind.
- Cabin Tents: Great for families, tall ceilings, and spacious interiors.
- Pop-Up Tents: Quick setup, perfect for festivals or short trips.
- Backpacking Tents: Lightweight, compact, designed for hiking and minimalist campers.
Weather Rating
- 3-Season Tents: Handle spring, summer, and fall (light rain and wind).
- 4-Season Tents: Built for snow and extreme weather (heavier, pricier).
Product Picks
- Budget-Friendly: Coleman Sundome Tent.
- Backpacking Star: MSR Hubba Hubba NX.
- Family Favorite: Core 9-Person Instant Cabin.
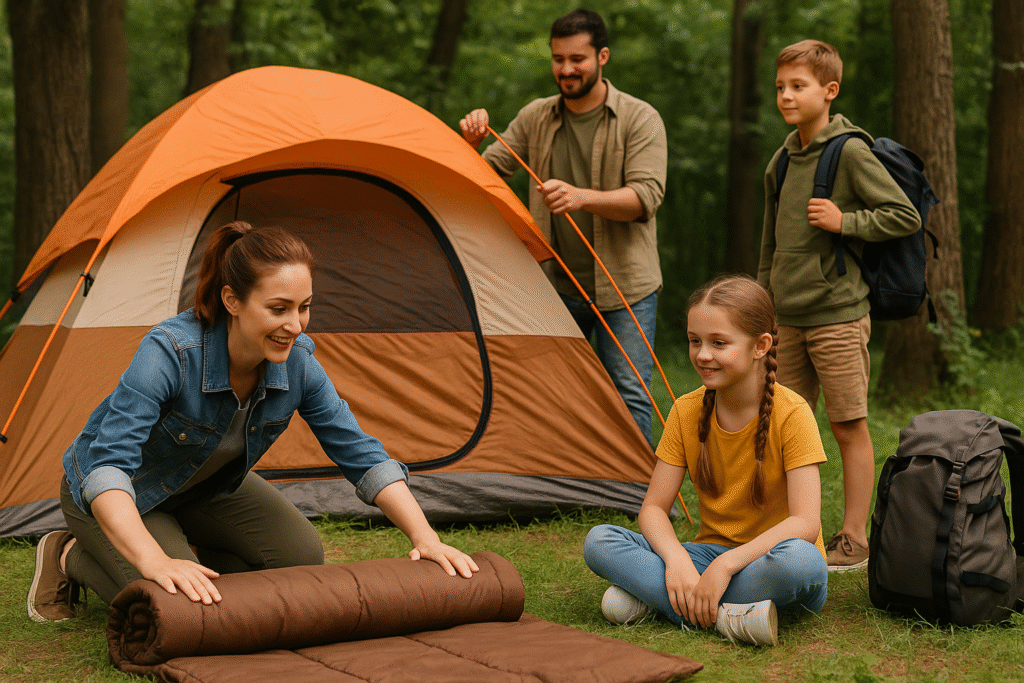
Step 2: Essential Gear for Tent Setup
A camping tent isn’t complete without its supporting gear. Don’t overlook these essentials:
- Tent Stakes/Pegs: Invest in durable aluminum or steel — cheap ones bend easily.
- Ground Tarp/Footprint: Protects the bottom of your tent and adds waterproofing.
- Mallet or Hammer: Saves frustration when driving stakes into rocky ground.
- Guylines: Adds extra stability in wind.
- Rainfly: A must-have for staying dry in unexpected rain.
Pro Tip: Always pack a small repair kit — duct tape, patch fabric, and spare stakes can save your trip.
Step 3: Picking the Perfect Campsite
Where you pitch your tent makes or breaks your experience. Here’s what to look for:
- Flat Ground: Avoid slopes or dips where water collects.
- Shelter from Wind: Use natural barriers like trees or bushes.
- Safe Distance: Stay at least 200 feet from water sources to reduce pests and follow Leave No Trace principles.
- Sun vs. Shade: Morning sun helps dry dew; afternoon shade keeps your tent cooler.
I once pitched right under a massive pine tree — seemed smart until pinecones kept crashing onto the roof all night. Lesson learned: scan overhead before staking down!
Step 4: How to Set Up a Camping Tent (Step-by-Step)
1. Lay Down the Tarp
Spread your footprint or tarp slightly smaller than the tent floor to prevent water pooling.
2. Unpack and Organize
Lay out the poles, stakes, rainfly, and tent body so nothing gets lost.
3. Assemble the Poles
Most modern tents use color-coded poles. Slide or clip them into the tent sleeves.
4. Raise the Tent
Attach the poles to the grommets or clips. Watch the shape form — dome tents are especially satisfying here.
5. Stake It Down
Pull each corner taut and stake it securely. Use a mallet if needed.
6. Add the Rainfly
Drape it over the top and clip or tie it into place. Adjust guylines for stability.
Pro Tip: Practice in your backyard before your first trip — nothing kills the mood like setting up in the dark with no clue where the rainfly clips go.
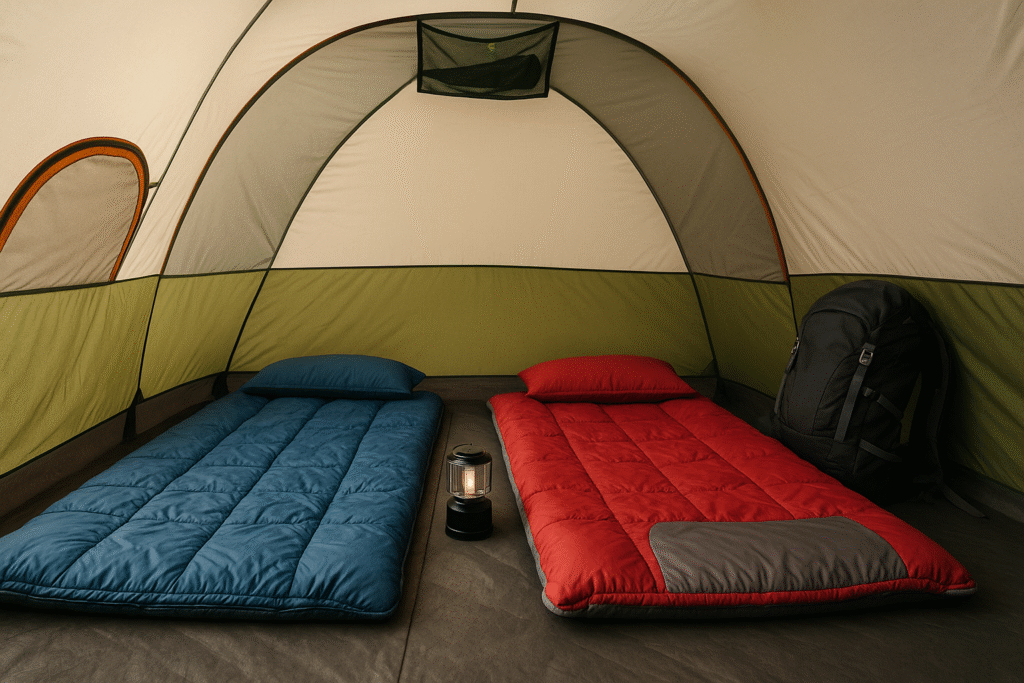
Step 5: Staying Comfortable Inside
Now that your tent is up, let’s make it livable:
- Sleeping Pads or Cots: Keep you warm and comfy.
- Sleeping Bags: Match temperature ratings to your destination.
- Pillows and Blankets: Don’t underestimate comfort.
- Lantern or Headlamp: A must-have for nighttime visibility.
- Tent Organization: Hanging gear lofts or side pockets prevent clutter.
Think of your tent as a mini home — a little organization keeps things relaxing, not chaotic.
Step 6: Weatherproofing and Safety
Nature can be unpredictable, but your tent can handle it with the right precautions:
- Seal the Seams: Many tents come pre-sealed, but it’s worth resealing for added protection.
- Stake Extra Guylines: Helps during wind gusts.
- Ventilation: Open vents or mesh panels to reduce condensation buildup.
- Check Fire Safety: Never cook inside your tent. Use a safe distance from your campfire.
Step 7: Packing Up the Tent
Breaking camp is just as important as setting up:
- Shake out dirt and debris.
- Allow the tent to dry fully to prevent mold.
- Fold loosely and roll — don’t just cram it in the bag.
- Store in a cool, dry place when you’re home.
Trust me, nothing smells worse than pulling out a moldy tent after winter storage.
Common Tent Mistakes to Avoid
- Skipping the footprint — leads to rips and leaks.
- Leaving food inside — attracts animals.
- Overlooking ventilation — hello, condensation!
- Forgetting to practice setup before your trip.
Quick Product Round-Up
- Best Beginner Tent: Coleman Sundome (budget-friendly, easy setup).
- Best Backpacking Tent: Big Agnes Copper Spur HV UL2 (lightweight, durable).
- Best Family Tent: Core Instant Cabin (spacious, quick setup).
- Best 4-Season Tent: The North Face Mountain 25 (for extreme conditions).
Final Thoughts
Camping is all about embracing nature, but your tent is your home base. By choosing the right camping tent, setting it up properly, and caring for it, you’ll ensure your nights under the stars are safe, comfortable, and unforgettable.


0 Comments