Building something with your own hands is exciting. It’s even better when it protects you from the weather or becomes a cozy spot for stargazing. I’ve spent many weekends working on my tarp canopy DIY projects. I’ve turned simple tarps into shelters that can handle rain, sun, and wind.
What began as a hobby turned into a passion for me. I learned how to make a tarp into a special outdoor area. I was inspired by Pinterest’s DIY community and Lowe’s guides. I’ve tried many tarp canopy ideas to find the best ones. This article will share my top picks. Whether you’re new to DIY or experienced, these tips will help you create a unique canopy that fits your outdoor style.
Getting Started: Essential Tools and Materials
Before starting to build a tarp canopy, it’s important to gather the right materials. Choose a tarp based on your needs. For casual use, lightweight polyethylene works well. For heavy rain, durable PVC-coated polyester is better. Canvas adds a classic look but needs more care.
Frames are the backbone of your diy tarp shelter. PVC pipes are good for temporary setups. Metal poles are stronger for long-term use. Use sturdy stakes and ropes for outdoor use.
Don’t forget essential tools like a measuring tape and scissors or a utility knife. A hammer or mallet is also needed for driving stakes. Always read tarp canopy instructions for pre-cut kits. For custom builds, start small and test each part before assembling. Choose materials from brands like Hennessy or ALPS Mountaineering for quality.
Step-by-Step tarp canopy diy Guide
Starting your make your own tarp canopy project is easy. First, find a flat, open area. Use a measuring tape to measure its length and width. Mark the corners with spray chalk to see where everything will go.
Then, set up two poles for the top line, spaced as you measured. Tie a rope between them as the base. Place the tarp over this, making sure it’s centered so the extra fabric hangs evenly. Use bungee cords or clips to hold the tarp edges to the top line. Many DIY fans suggest using carabiners for easy adjustments.
Next, secure the corners with heavy-duty stakes at a 45-degree angle away from the tarp. This creates tension that keeps the canopy tight. For more stability, add guylines from the tarp’s corners to ground stakes 6 feet out. Shake the frame gently to check for looseness—any means you need to adjust stakes or cords.
Pro tip: Use duct tape to overlap seams to stop rain leaks. Adding a center pole helps with taller canopies. Follow these steps, and you’ll have your diy tarp canopy ready in under an hour. Remember, practice makes perfect—don’t rush when tying knots or securing corners. This how to make a tarp canopy method works for both backyard setups and camping trips with lightweight materials.
Creative Tarp Design Ideas for All-Weather Canopies
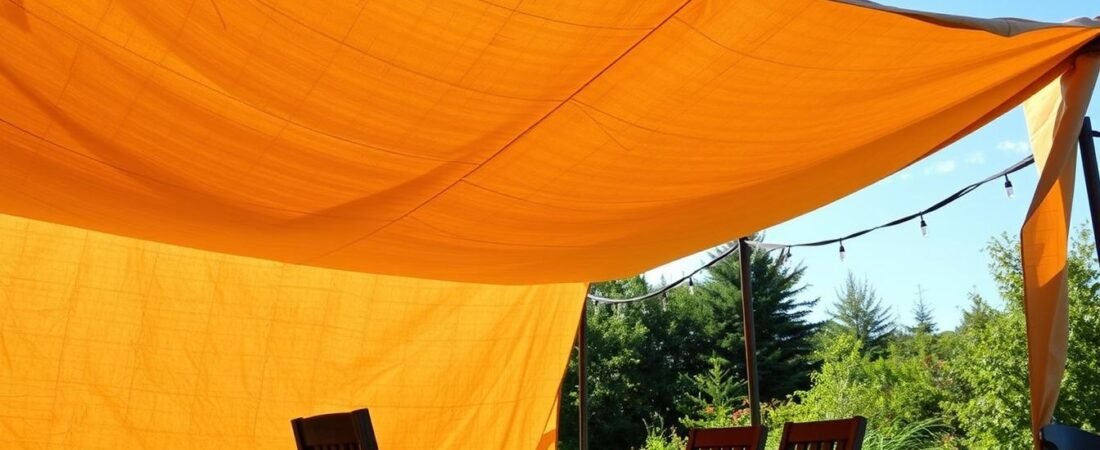
Creating a standout tarp canopy design means blending style with function. Choose bold colors or striped patterns to match your outdoor space. For instance, a navy-and-white striped tarp brings a nautical vibe, while earthy tones blend with nature. Add string lights or fairy lights overhead to create a magical ambiance at dusk. Pinterest is full of tarp canopy plans that mix tarps with wooden pergolas or metal frames for a modern look.
Make your tarp canopy design unique with geometric cutouts or embroidered logos. A checkerboard pattern or a company logo stitched into the fabric is great for events. At Lowe’s, find hardware to secure decorative accents like wind-resistant ties or fabric edging. Try layering tarps in different shades for depth. A gradient effect from deep green to light blue creates a forest-inspired look.
Don’t stick to basic rectangles. Triangular peaks or rounded corners add interest. Use PVC pipes with lightweight tarps to create flowing, draped shapes. My top tip? Use vinyl stickers for seasonal designs like fall leaves or holiday icons without harming the material. These ideas transform your tarp canopy plans into a durable, eye-catching centerpiece.
Practical How-To Tips for Building a Tarp Canopy
Building a homemade tarp canopy starts with solid anchoring. Use heavy-duty stakes or ground anchors for the corners. This prevents shifting during gusts. When placing stakes, angle them away from the outdoor tarp canopy at a 45-degree angle.
This technique distributes tension evenly and reduces strain on the fabric. I’ve found that adding guy lines 6–8 feet out from each corner adds extra stability. This is crucial in unpredictable weather.

Safety near flames is critical. Always keep campfires at least 15 feet away from your homemade tarp canopy. Nylon or polyester tarps can melt if exposed to extreme heat.
Test wind direction before setting up. For rain resistance, overlap seams by 6 inches and use cord locks to seal gaps. I use paracord loops tied to trees or posts for adjustable tension. This helps shed water effectively. Weather changes demand quick adjustments. Keep a tarp repair kit handy with duct tape, safety pins, and extra grommets.
When storms hit, secure low points first to prevent pooling water. My go-to tip: check the outdoor tarp canopy every 30 minutes during severe weather. Tighten lines as needed. Proper setup ensures it stays intact while protecting your gear and space.
Budget-Friendly and Innovative Tarp Canopy Designs
When it comes to tarp shelter ideas, being creative and thrifty is key. Even simple materials like scrap wood, old shower curtains, or secondhand tarps can make a strong canopy. PVC pipes from stores like Home Depot are light and cheap, great for making adjustable frames.
Adding a weather-resistant tarp makes your shelter look great without spending much. You can build a shelter for under $50 that looks like it cost more.
Using old items is a smart move. Old sailboat covers or commercial drop cloths make great tarps without the high cost. DIYers have used metal fence posts and bungee cords to secure tarps to picnic tables or garden beds. Old ladders flipped upside down can also support tarps. Just drape a tarp over the rungs!
For a free frame, nature can help. Fallen tree branches or sturdy vines can be used with paracord. Two small tarps and duct tape can make a bigger shelter, saving you $30. Websites like Reddit’s r/DIY have many DIY guides, like using soda bottles as weights or shower rod brackets as connectors.
Camping and Outdoor Adventures: Maximizing Your Tarp Shelter
When I venture into the wild, my easy tarp canopy is my top choice for shelter. It’s light and easy to carry, fitting well in backpacks for long hikes. The A-frame design is great for windy days, and lean-to setups let in cool air on calm nights. I always look for natural spots like trees or rocks to anchor the corners. This makes setting up faster and more stable.

Choosing the right spot is crucial. I avoid open fields where wind can easily damage the tarp. Instead, I look for valleys or dense tree lines that block the wind.
For air flow, I angle the tarp to let breezes in without letting rain in. Adding mesh panels or grommets to the easy tarp canopy keeps it cool at night. I’ve tried it in deserts, forests, and mountain trails. The secret is simplicity—no need for complicated knots. Using carabiners or paracords makes adjustments easy. Even in heavy rain, a well-set canopy keeps you dry. Pair it with a groundsheet to stay completely dry. This makes your shelter both comfortable and practical.
Whether you’re backpacking or car-camping, the easy tarp canopy turns any place into a cozy retreat. It’s not just about staying dry—it’s about feeling part of nature while continuing your adventure. With the right setup, you’ll sleep under the stars or wake up dry and ready for the day.
Maintenance and Longevity Tips for Your DIY Tarp Canopy
Keeping your simple tarp canopy in good shape is key. Clean it every month by shaking off dirt, rinsing with water, and using mild soap for stains. Make sure it’s completely dry before you fold it up.
If you have mold, mix bleach or hydrogen peroxide with water. Rinse well to avoid harming the fabric. Apply waterproof coatings every 6–12 months. Nikwax SolarProof is a great choice. Apply it to damp fabric, rub it in, and let it dry. UV rays can weaken the material, so store it indoors when not in use. Store it in a dry, dark place. Roll it loosely to avoid creases. This way, your simple tarp canopy will last for years, protecting you from rain and sun.
Regularly check the hardware. Tighten any loose bolts and replace rusty parts. Use silicone spray on pulleys to keep them running smoothly. Don’t fold the tarp too tightly to prevent tears. With the right care, your canopy will serve you well for a long time.
To Conclude…
A DIY tarp canopy is both creative and practical. It turns any space into a weatherproof retreat. This guide showed you the tools, steps, and design ideas to make a useful outdoor shelter. Using budget-friendly materials, you can create a durable canopy. The process is flexible and affordable. It meets your needs without breaking the bank.
To keep your canopy in top shape, it’s important to maintain it. You can add your own style by mixing patterns or colors. Even small changes can make a big difference, whether for camping or backyard events.