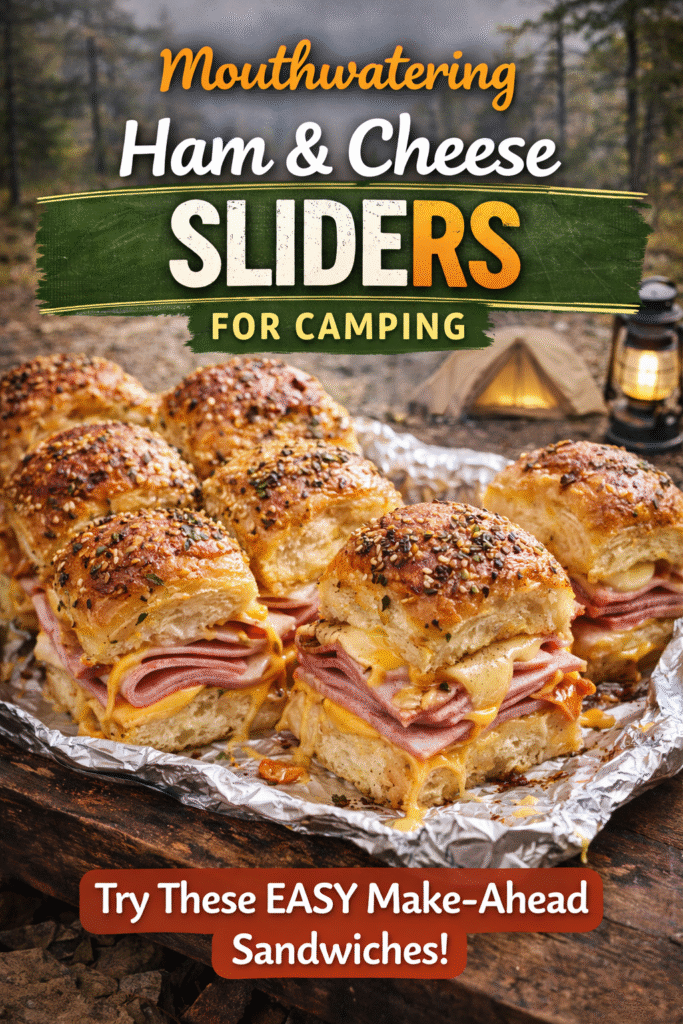
There’s nothing like pulling a pan of warm, cheesy sliders off the campfire griddle and watching everyone dive in before they even hit the picnic table. These Ham and Cheese Sliders for Camping are the ultimate make-ahead comfort food for outdoor trips — simple, melty, and guaranteed to please kids and adults alike.
If you’ve ever struggled with meals that feel like too much effort at the campground, these sliders are your answer. You can prep them at home in under 15 minutes, wrap them in foil, and heat them over the fire whenever you’re ready to eat. The result? Gooey, golden-browned perfection every single time.
What Makes These Ham and Cheese Sliders Perfect for Camping?
Let’s face it — when you’re camping, you want big flavor without hauling a full kitchen. Ham and Cheese Sliders for Camping check every box: they’re portable, cook fast, and leave barely any mess. You can make them ahead of time, freeze them, and reheat right on the campfire or Blackstone griddle.
I’ve made these on everything from a charcoal grill to a flat-top griddle, and they turn out amazing every time. Plus, they’re a hit for any camping crowd — a late-night snack, an easy lunch, or a hearty dinner after a long hike.
Quick Overview
| Prep Time | Cook Time | Serves | Difficulty | Equipment Needed |
| 15 minutes | 10–15 minutes | 4–6 | Easy | Foil, campfire grate, tongs, knife, brush, small bowl |
Ingredients
| Ingredient | Quantity | Notes |
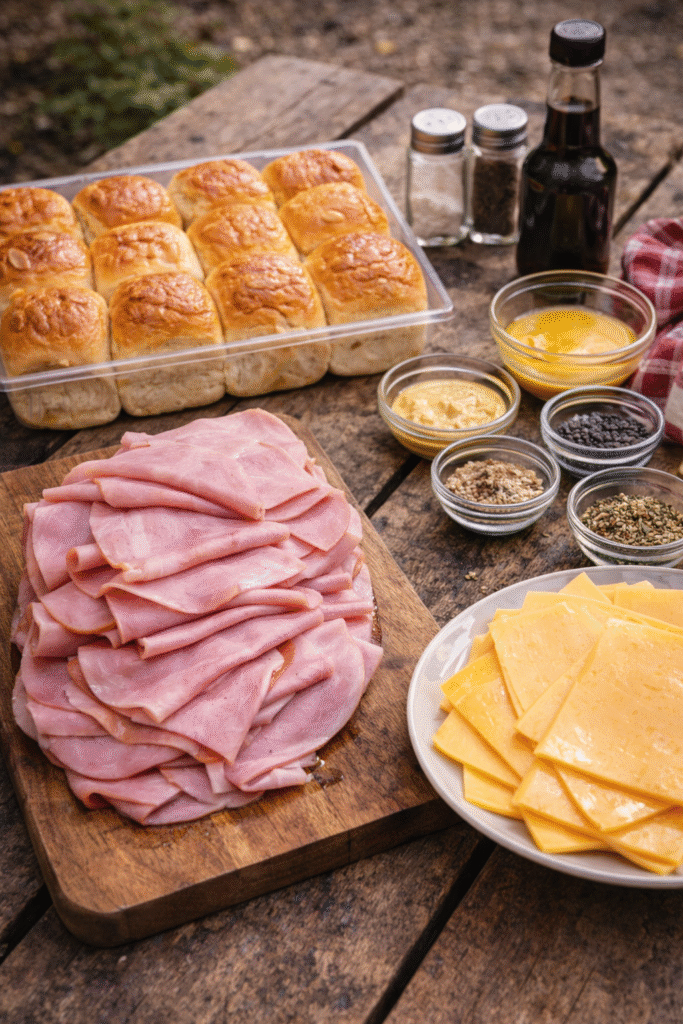
| Hawaiian rolls | 12-count package | Sweet rolls work best |
| Deli ham | ¾ lb (12–14 slices) | Thinly sliced |
| Swiss cheese | 6 slices | Cheddar or provolone also great |
| Butter | ½ cup (1 stick) | Melted |
| Dijon mustard | 1 tbsp | Optional for added flavor |
| Worcestershire sauce | 1 tsp | Deepens the glaze |
| Onion powder | ½ tsp | Adds mild savoriness |
| Poppy seeds | 1 tsp | Optional topping |
| Foil sheets | 2 large pieces | For wrapping sliders |
Step-by-Step Instructions
1. Prep the Sliders at Home (Optional for Easy Camping)
- Slice the entire pack of rolls in half horizontally (keep them connected).
- Layer ham and cheese evenly between the top and bottom halves.
- Replace the top, then cut into individual slider portions.
2. Make the Butter Glaze
- In a small bowl, melt butter.
- Stir in Dijon mustard, Worcestershire sauce, onion powder, and poppy seeds.
- Brush the glaze over the tops of the rolls.
3. Wrap and Chill
- Wrap the sliders tightly in foil.
- If prepping ahead, refrigerate up to 48 hours or freeze for later trips.
4. Cook at the Campsite
Campfire or Grill:
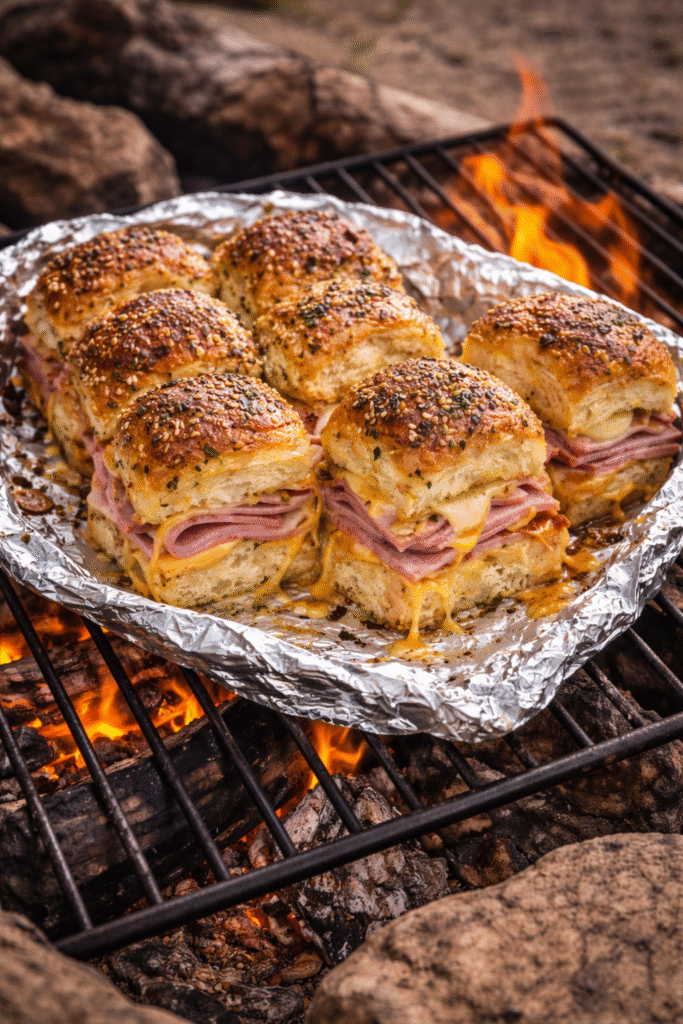
- Place foil packs on a grate over medium coals or a grill (indirect heat).
- Cook for 10–15 minutes, flipping halfway through.
Blackstone or Griddle:
- Heat to medium.
- Place foil pack on griddle surface.
- Cover with a dome lid (or another piece of foil) for 8–10 minutes until cheese melts.
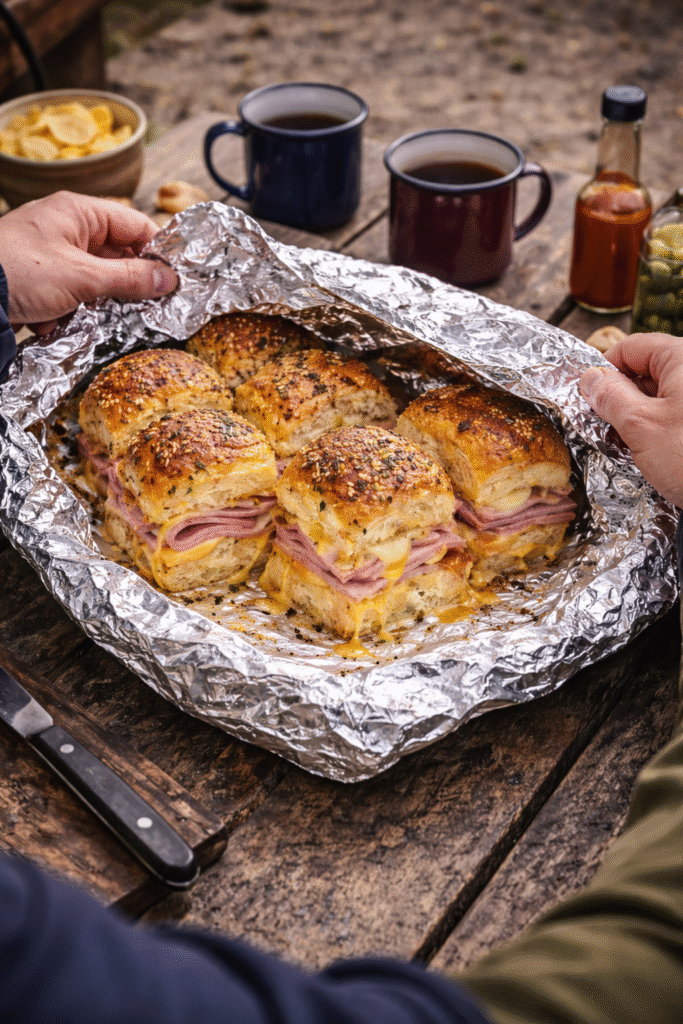
Tip: Open the foil carefully — steam builds up inside!
5. Serve and Enjoy
Once melted and golden, pull them off the fire, let cool slightly, and dig in. The buttery tops and smoky ham aroma will draw everyone to the picnic table instantly.
Pro Tips for the Best Ham and Cheese Sliders for Camping
- Use Heavy-Duty Foil: Regular foil can tear easily; heavy-duty holds up better against campfire heat.
- Layer Cheese on Both Sides of the Ham: It acts as a barrier, keeping the bread from getting soggy.
- Add Sweet or Savory Twists: Try adding a layer of pineapple rings, caramelized onions, or spicy mustard.
- Pre-Freeze Before Packing: Frozen sliders act as ice packs in your cooler and thaw perfectly by the time you’re ready to cook.
- Butter Generously: Don’t skimp — that buttery glaze gives you the crisp, golden top that makes these irresistible.
- Cook on the Edge of the Fire: Avoid direct flames; slow, even heat melts the cheese without burning the bread.
Variations You’ll Love
Breakfast Sliders
Use scrambled eggs, ham, and cheddar cheese. Great for mornings on the go.
BBQ Ham Sliders
Add a spoonful of BBQ sauce between layers for smoky sweetness.
Turkey & Swiss Sliders
A lighter option using turkey slices and a honey mustard glaze.
Campfire Italian Sliders
Stack ham, salami, provolone, and a drizzle of Italian dressing for zesty flavor.
Storage & Cleanup Tips
- Wrap Smart: Keep your foil packs labeled if you’re making multiple varieties.
- Minimal Dishes: You’ll only need a small bowl, brush, and tongs.
- Leftovers: Store cooled sliders in airtight containers or resealable bags in your cooler.
- Reheat: Wrap leftover sliders in foil and warm near the campfire edge for 5–8 minutes.
- Disposal: Always pack out foil or recycle it — never leave it in the fire pit.
Why These Ham and Cheese Sliders for Camping Are a Must
Every camping trip needs one meal that’s foolproof and guaranteed to make everyone happy. Ham and Cheese Sliders for Camping are that meal. They’re easy, satisfying, and taste like pure comfort food under the stars.
I’ve made these for large groups, late-night snacks, and even tailgate breakfasts. They always disappear faster than anything else on the menu. When the fire’s glowing and everyone’s relaxing, there’s nothing better than sharing a warm foil packet of cheesy, buttery sliders.
If you’re planning your next trip, make a batch of these in advance — they’ll quickly become your signature camp dish.
Conclusion
When it comes to effortless, crowd-pleasing camping food, Ham and Cheese Sliders for Camping deliver every single time. With gooey cheese, savory ham, and golden-buttered rolls, they’re simple to prep, fast to cook, and totally delicious.
The next time you pack your cooler, make sure these sliders are in it — because a campsite feast doesn’t need to be complicated to be unforgettable.
0 Comments