Have you ever looked into a campfire and felt inspired? Drawing a campfire is a fun way to capture outdoor adventures.
To draw a campfire, you need to know the basics of drawing and fire. I’ll show you how to draw a realistic campfire step by step.
This drawing tutorial will help you create a warm and cozy fire illustration.
Key Takeaways
- Understand the basics of campfire drawing
- Learn a step-by-step approach to drawing a campfire
- Create a realistic fire illustration
- Enhance your drawing skills with a fun and creative activity
- Capture the essence of outdoor adventures through art
Understanding the Anatomy of a Campfire
Knowing how a campfire works is key to drawing it well. You need to understand its parts and how it behaves.
The Three Main Components of Fire
A campfire has three main parts: fuel, oxygen, and heat. The fuel is what’s being burned, like wood. Oxygen helps the fire keep going. Heat is the energy that keeps the fire burning. Knowing these parts is important for a good campfire drawing.
How Real Campfires Behave
Real campfires are always changing. Flames move and change because of air and fuel. Watching a real fire helps you see how flames move and change.
Reference Images and Observation
Looking at pictures and watching real fires can make your drawings better. Pictures show a campfire’s structure. Watching a fire live helps you see how it moves.
Here’s a simple comparison of the elements of a campfire:
| Element | Description | Importance |
|---|---|---|
| Fuel | Material being burned (e.g., wood) | Essential for combustion |
| Oxygen | Necessary for sustaining combustion | Critical for fire to continue |
| Heat | Energy released by the fire | Sustains the combustion reaction |
Materials You’ll Need for Drawing a Campfire
Getting the right materials is crucial for drawing a campfire that feels warm and cozy. First, you need to gather the necessary drawing supplies.
Essential Drawing Supplies
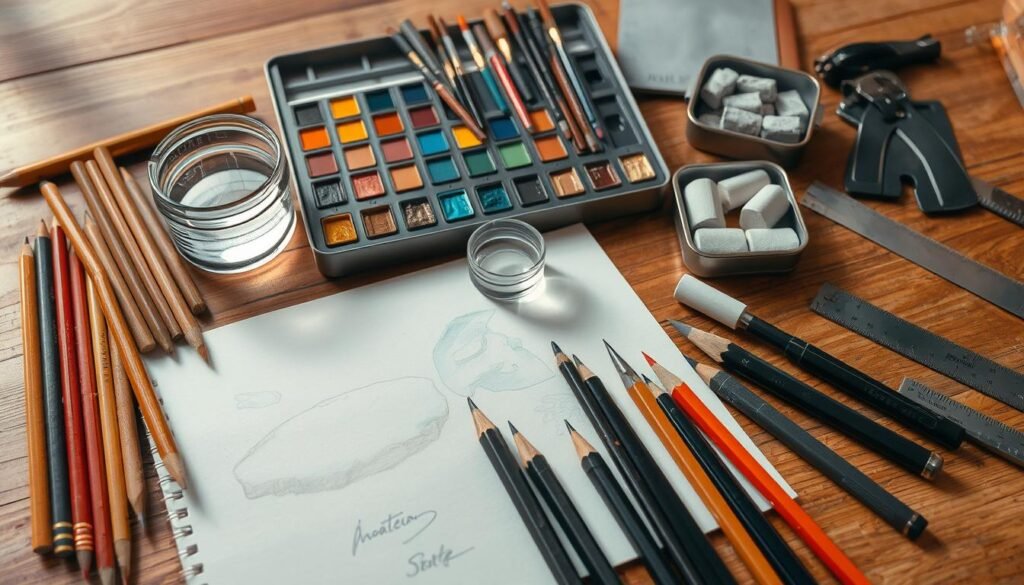
To start drawing your campfire, you’ll need some basic art materials. You’ll need pencils (HB, 2B, 4B, 6B), a sketchbook or drawing paper, an eraser, and a sharpener. A blending stump or tortillon is also helpful for smooth transitions.
These drawing supplies are the foundation for your campfire drawing. Choose a high-quality sketchbook that works with pencils, charcoal, or ink.
Optional Materials for Enhanced Effects
For more depth and realism, consider using extra art materials. Charcoal can make dark tones, while colored pencils or pastels add color. You can also try watercolor or ink for the flames.
Setting Up Your Workspace
Before drawing, set up a comfy and efficient workspace setup. Look for a well-lit area with a flat surface. A drawing board or easel can help support your work.
Keep your supplies organized and close to avoid distractions. A clean workspace can boost your creativity and focus.
Preparing Your Canvas
Before we start drawing a campfire, we need to get our canvas ready. A good canvas is key to a great drawing.
Choosing the Right Paper Size and Type
First, pick the right paper size and type. Choose a paper size that fits your drawing style. Big papers are good for details, and small ones need more care.
Think about the paper type too. Hot-pressed paper is smooth for detailed work. Cold-pressed paper has texture for expressive drawings.
Creating a Basic Composition
After picking your paper, plan your drawing’s composition. Decide where your campfire will go on the canvas. Use the rule of thirds for balance.
You can also sketch a grid lightly. This helps place elements well.
Sketching the Initial Guidelines
Now, think about your drawing’s layout. Lightly sketch the first guidelines with a pencil. This includes the horizon line and where the campfire will be.
These guidelines keep your drawing in proportion and perspective.
Step1: Drawing the Campfire Base
The base of a campfire is key, and it’s where we start. To make a campfire look real, we need to draw its base. This includes the fire pit, log arrangement, and the first coals and embers.
Sketching the Fire Pit or Stone Circle
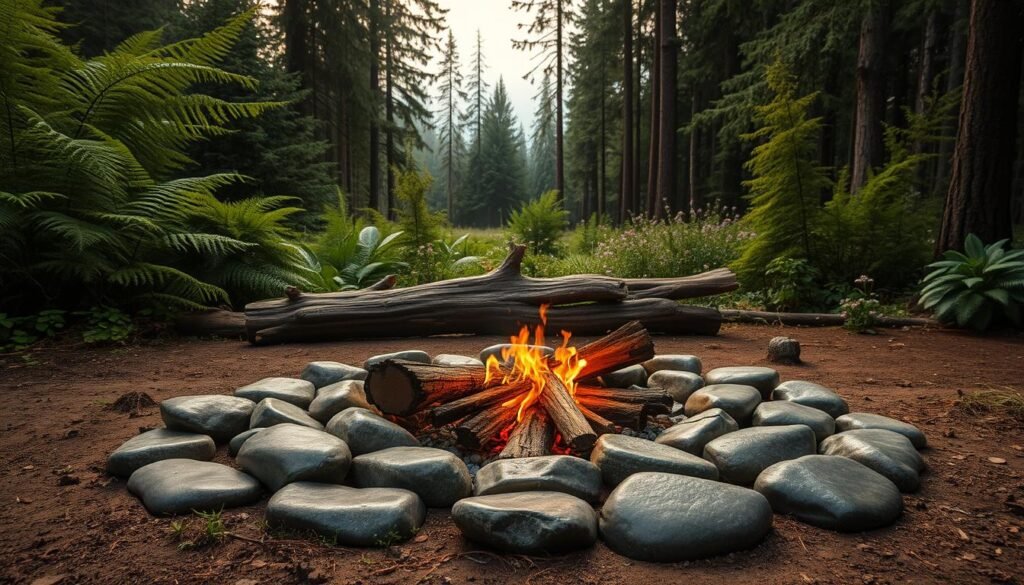
Start by drawing the fire pit or stone circle. It can be a simple circle or a complex stone arrangement. Use a smooth motion to draw the shape, thinking about its perspective and how it fits with your drawing. Getting this right is important for a realistic campfire scene.
Drawing the Logs or Wood Arrangement
Then, draw the logs or wood inside the fire pit. Logs are usually stacked in a teepee or crisscross pattern. You can change the size and direction of the logs to make it look real. Notice the space between the logs to add depth to your drawing.
Creating the Initial Coal and Ember Base
Lastly, draw the first coals and embers at the fire’s base. These are key for showing the fire’s warmth and glow. Use short, gentle strokes to show the coals and embers, building up to the right intensity. This layer will be the base for your flames.
By following these steps, you’ll have a strong base for your campfire drawing. This will help you as you add the flames and other details.
Step2: How to Draw a Campfire – Core Flames
Capturing the core flames is key to a realistic campfire drawing. Here’s how you can do it.
Drawing the core flames means understanding the fire’s shape and behavior. The core is the hottest and most intense part.
Outlining the Fire’s Core Shape
To start, sketch the overall shape of the core flames. It’s usually more compact and denser than the outer flames. Notice how the flames rise from the center of the campfire.
Use gentle, flowing lines to show the fire’s dynamic movement. The core shape can change based on the campfire type you’re drawing.
Techniques for Drawing Realistic Flames
To draw realistic flames, pay attention to the edges and texture. Flames are not uniform; they have irregular edges and varying densities.
One technique is to use short, quick strokes to suggest the flickering nature of the fire. This makes the flames look more dynamic and lifelike.
Creating the Central Heat Source
The central heat source is where the flames are most intense. Emphasize this area with brighter colors or darker shading, depending on your drawing medium.
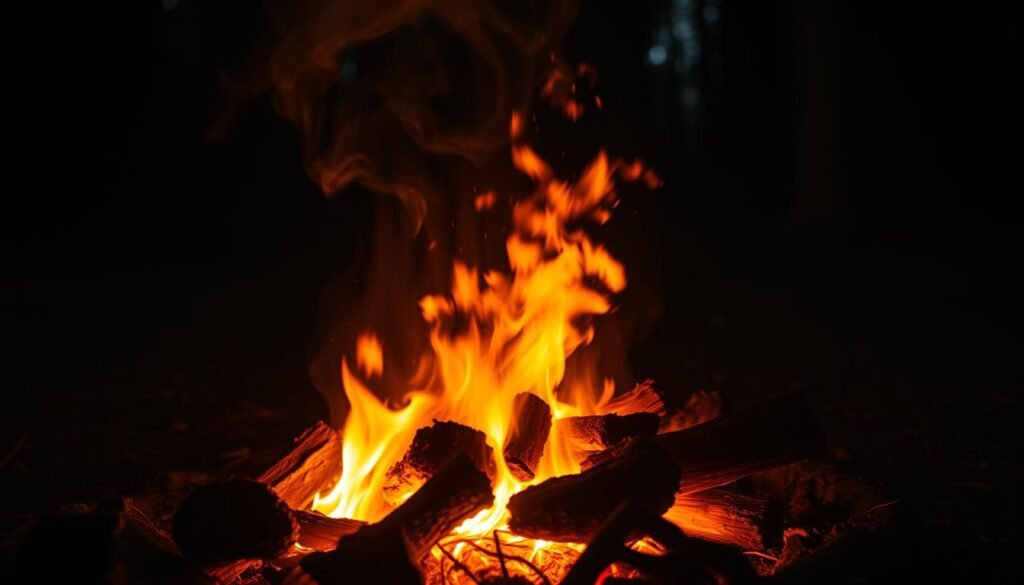
By focusing on the core flames and using the right techniques, you can add warmth and energy to your campfire drawing.
Step3: Developing the Outer Flames
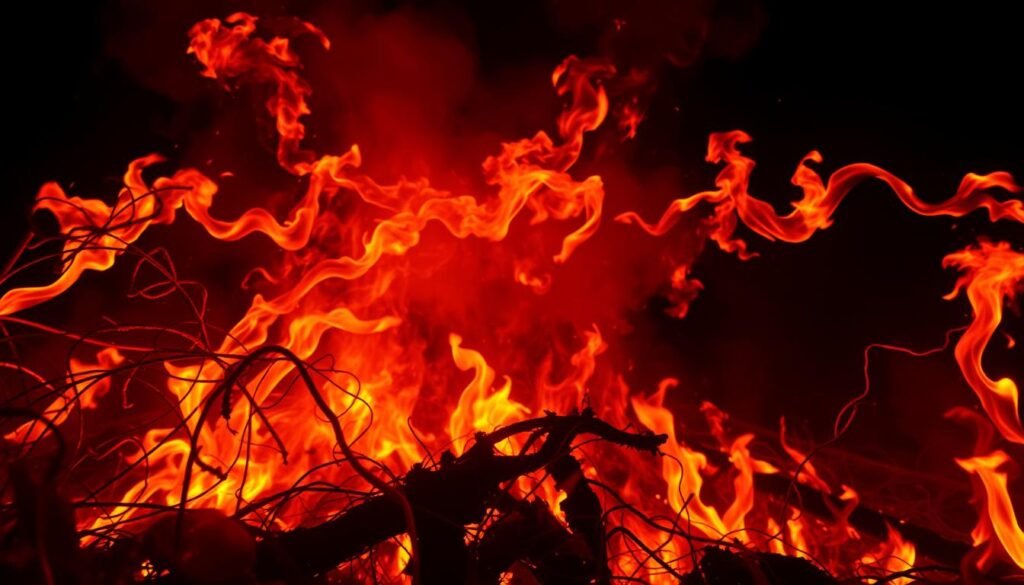
Creating the outer flames is key to a realistic campfire drawing. It adds complexity and interest. We’re building on the core flames, making the campfire scene more immersive.
Varying Flame Shapes and Sizes
It’s important to have flame variation in our campfire. This means drawing flames of different shapes and sizes. This makes our campfire look more real and interesting.
Start with smaller flames around the core, then get bigger as you go out. Some flames should be tall and pointed, others shorter and rounder. This variety makes our campfire look more real.
Adding Movement and Direction
The outer flames should look like they’re moving. This is because they’re being blown by an invisible breeze. To do this, bend the flames in different directions. This adds movement and captures the fire’s fleeting nature.
Think about how your drawing looks as a whole when adding movement. Make the flames lean towards or away from you. This makes the campfire look three-dimensional.
Creating Realistic Flame Patterns
To make our campfire look even more real, we need to focus on realistic flame patterns. Look at how flames move and interact with the air and wood. Real flames flicker and dance, sometimes coming together, other times splitting apart.
By capturing these flame patterns, we add authenticity to our drawing. Our goal is to make a drawing that looks good and feels warm and lively, just like a real campfire.
Remember, patience and observation are important when developing the outer flames. Take your time to study the flames. Don’t be afraid to make changes as you go. With practice, you’ll get better at drawing campfires.
Step4: Adding Depth and Dimension
I’m working on making my campfire drawing look real. Adding depth and dimension is key to a great campfire picture.
Layering Techniques for Fire
To make a campfire look real, I layer flames, embers, and smoke. I start with the fire’s center and add layers around it.
- Begin with the core flames, using bold strokes and vibrant colors.
- Add mid-tone flames around the core, softening the edges.
- Finally, add outer flames and smoke, using gentle, sweeping motions.
Creating the Illusion of Light and Heat
I use colors and textures to show light and heat. Warm colors like oranges and yellows show flames. Cool colors like blues and purples show shadows.
Key techniques include:
- Using contrasting colors to create visual interest.
- Employing soft, feathery textures to suggest the gentle warmth of the fire.
- Highlighting the edges of flames and embers to capture their radiant heat.
Drawing Smoke and Embers
Smoke and embers make the campfire look real. I use soft, grayish colors for smoke.
Embers are warm, glowing colors, often orange or red. Balancing smoke and embers makes the campfire scene come alive.
Step5: Coloring Your Campfire Drawing
Coloring your campfire drawing brings it to life. With the basic structure done, adding color makes it more inviting.
Choosing the Right Color Palette
Choosing the right colors is key for a realistic campfire. Warm colors like oranges, yellows, and reds are best for flames. Use different colors for the fire’s core and outer flames.
Looking at real campfires or pictures can help. Try different color mixes for unique effects.
Techniques for Blending Fire Colors
Blending colors makes the campfire look smooth. Start with bright colors at the center and blend to softer colors at the edges. Use pencils, markers, or paints for this.
Layering colors adds depth. Build up layers for a detailed campfire. Blend colors softly to avoid harsh lines.
Creating Contrast Between Fire and Background
Contrast makes your campfire stand out. Use colors that complement each other. If the background is cool, make the fire warm and bright.
Adding Glow Effects
A glow effect around the fire enhances your drawing. Use lighter colors or highlights to show warmth and light. Soft, gentle strokes create a subtle glow.
By following these steps and trying different techniques, you can make a vibrant campfire drawing. It will capture the warmth and ambiance of a real campfire.
Different Styles and Variations of Campfire Drawings
Exploring different drawing styles can make campfire illustrations exciting and new. Artists can try many styles, from realistic to abstract and stylized. This makes campfire drawings very versatile.
Cartoon Style Campfires
Cartoon-style campfires are great for kids’ books or fun settings. They have big flames and simple surroundings. Artists use bold lines, bright colors, and few details for this look.
Realistic Campfire Illustrations
Realistic campfires aim to show the true campfire look. They have detailed flames, smoke, and settings. Artists use layering and shading to make it look real and immersive.
Stylized and Abstract Fire Representations
Stylized and abstract campfires let artists be creative. They can use fire as a symbol or focus on its mood. These styles are all about experimenting and expressing feelings.
Digital vs. Traditional Techniques
Digital and traditional art change how a campfire drawing looks. Digital art is easy to edit and flexible. Traditional art gives a hands-on feel and special textures. Knowing each medium’s strengths helps artists pick the right one.
Here’s a quick look at the differences:
| Style | Characteristics | Techniques |
|---|---|---|
| Cartoon | Exaggerated, playful, simplified | Bold lines, vibrant colors |
| Realistic | Detailed, authentic, immersive | Layering, shading |
| Stylized/Abstract | Experimental, interpretive, emotive | Unconventional techniques, metaphorical representations |
Conclusion
As we wrap up this guide on drawing a campfire, let’s recall the main points. These tips will help you make a realistic and engaging piece of art.
Learning about a campfire’s anatomy and choosing the right tools are key. Following the steps in this guide will help you make a beautiful campfire drawing. Don’t forget to practice and try out different styles to find your own voice.
We’ve talked about the important parts of a campfire, from the base to the flames. Using these tips, you can make your artwork feel warm and welcoming.
Keep working on your skills and don’t be scared to try new things. With time and effort, you’ll get better at drawing campfires that feel cozy and inviting.
FAQ
What materials do I need to draw a campfire?
To draw a campfire, you’ll need basic supplies. These include pencils, paper, and an eraser. You can also use colored pencils, markers, or pastels for more color and texture.
How do I achieve realistic flames in my campfire drawing?
To draw realistic flames, look at reference images. Use different flame shapes and sizes. Add movement and direction to your flames.
Creating realistic patterns is also key. Layer colors and textures to make your flames look real.
Can I draw a campfire using digital tools?
Yes, you can draw a campfire digitally. Tools like Adobe Photoshop or Procreate are great. They let you edit easily and try different styles.
How do I add depth and dimension to my campfire drawing?
To add depth, use layering for the fire. Create light and heat illusions. Draw smoke and embers for extra detail.
Try contrasting colors and textures. This will make your drawing pop.
What are some different styles I can use to draw a campfire?
You can draw a campfire in many styles. Try cartoon, realistic, stylized, or abstract. Use different techniques, colors, and textures to match your vision.
How do I choose the right color palette for my campfire drawing?
Choose colors based on the mood you want. Warm colors like oranges, yellows, and reds are common for campfires. Use cooler colors for the background or shadows.
Look at real campfires or images for inspiration. This will help you pick the right colors.
Can I use reference images to help me draw a campfire?
Yes, reference images are very helpful. Look at the shapes, colors, and textures of real campfires. Use this info to make your drawing more realistic.
You can find reference images online or take your own photos.
0 Comments