There is a small, honest thrill in lighting a camp stove after a long day. I come to camp hungry and tired, but I leave the trail with a warm skillet and a full heart.
My goal is to get a hot, hearty meal on the table fast, with gear that fits a compact camp kitchen and cleanup that fits lantern light. I rely on a deep skillet or a compact Dutch oven, fuel-savvy methods, and ingredients that travel well in a cooler.
I build each recipe around a reliable pound of ground and flexible starches like rice or elbows. I plan liquids carefully so rice or pasta finish tender despite wind and chill. Little boosts—taco seasoning, Worcestershire, tomato paste, and a handful of cheese—give big flavor with tiny effort.
Key Takeaways
- I design these one pan dinners for tent camping and quick cleanup.
- Pack sturdy ingredients: canned tomatoes, broth, instant rice, beans, and a pound of meat.
- Use a deep skillet or small Dutch oven for even heat and ash protection.
- Brown the meat first, add aromatics, then liquids so the meal simmers hands-off.
- Plan liquids carefully so rice or pasta finish tender in campsite conditions.
- Spices and small flavor boosters keep meals memorable with minimal gear.
Why I Cook One-Pan Beef Dinners on Camping Trips
After a day on the trail, I favor quick skillet dinners that use a simple meat-and-carb base.
Fuel and cleanup matter most. A single pan cuts stove time and soaks up less water when dishes are scarce. Covered simmering holds heat so I use less fuel and finish the meal while I set up camp.
I rely on ground beef (80–85% fat) because it browns fast and stays juicy over high heat. Leaner cuts work too, but I pack seasoning like taco mix or Worcestershire to boost flavor.
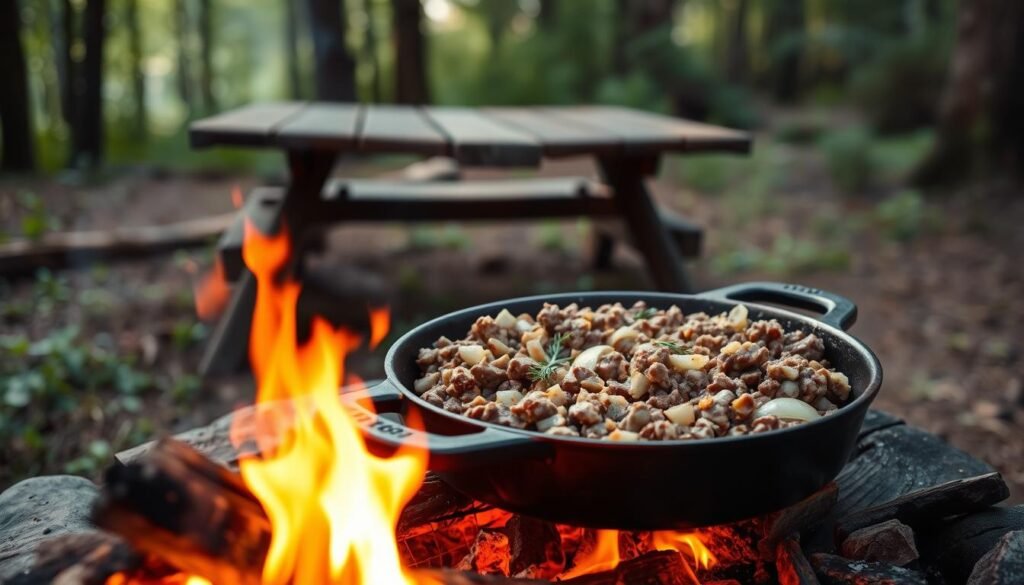
Rice or noodles stretch a little meat into a family-friendly meal. Instant rice knocks active time to 15–20 minutes, while regular rice finishes in about 35–40 with a low simmer.
- I start with a splash of olive oil, then sear the meat hard to build a savory base.
- One pan dishes scale easily—add an extra can of tomatoes or beans to feed a crew.
- A quick sprinkle of cheese under the lid lifts morale and adds calories after long hikes.
| Element | Camp Benefit | Timing |
|---|---|---|
| 80–85% grind | Stays juicy, better sear | 3–5 min to brown |
| Instant rice | Less active time, saves fuel | 15–20 min total |
| Covered simmer | Even finish in wind | 10–25 min after boil |
The Camp Kitchen I Pack for One-Pan Meals
My goal is gear that sears, simmers, and cleans with minimal fuss. I carry tools that handle both direct coals and a camp stove so meals finish predictably when the light fades.
Skillet vs. Dutch Oven: What Works Best
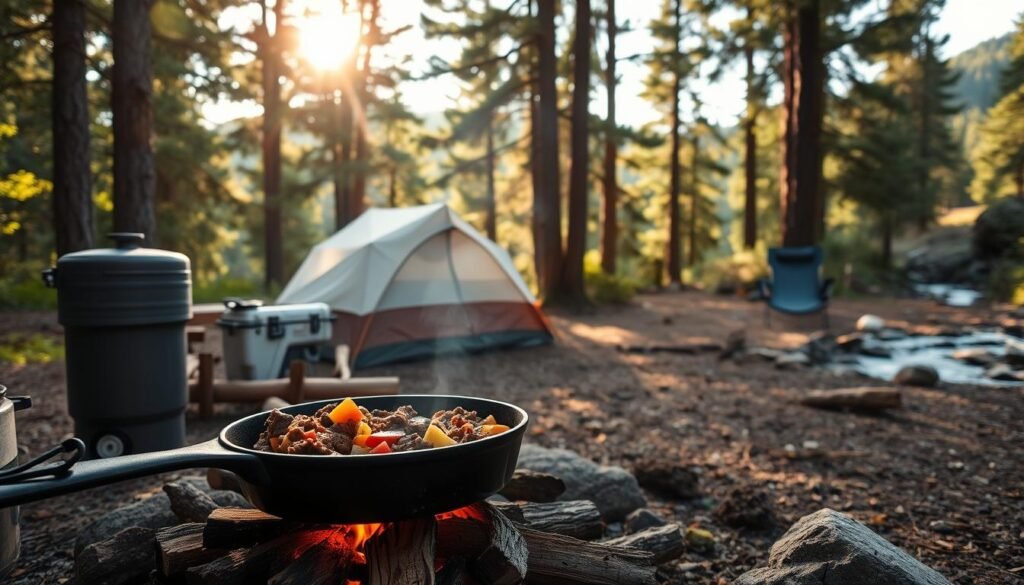
I bring a deep, heavy-bottomed skillet or a compact Dutch oven with a tight lid. Both give a reliable sear and a covered simmer that keeps ash out.
Fuel, Heat Control, and Managing High Heat Outdoors
Preheat the pan, sear the meat, then lower the flame to a steady simmer. Wind screens and rotating over coals prevent hotspots when you need to manage high heat.
Olive Oil, Salt, and Pepper: My Minimalist Flavor Kit
My kit fits a small bag: olive oil, salt, pepper, paprika, garlic powder, onion powder, and a tube of tomato paste. I pack a collapsible cup and a few tablespoons for measuring so rice cooks with roughly 2 cups of combined broth and tomato juices.
- Bring broth concentrate to turn water into stock.
- Carry heat-resistant gloves and a long spoon for safe lids up near flames.
My favorite one pot ground beef recipes for the campsite
At camp I favor simple skillet dinners that feed a group with minimal fuss. Below are three tried-and-true stove-and-fire-ring recipes that finish under a lid so cheese melts without an oven.
Ground Beef and Rice Skillet with Tomatoes and Cheese
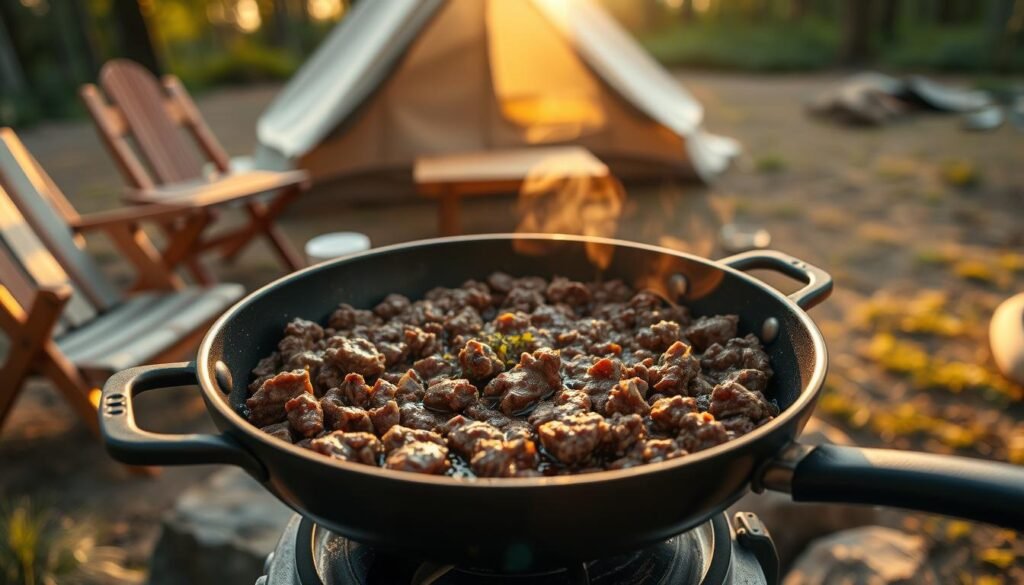
I brown 1 lb of ground beef 4–5 minutes, then add onion, bell pepper, and garlic for 5–6 minutes. Stir in a 14.5 oz can of diced tomato, 1.5 cups beef stock, 1 cup long-grain rice, 2 Tbsp tomato paste, and 1.5 tsp Worcestershire.
Bring to a boil, cover, and simmer low for 20–25 minutes. Off heat, sprinkle 1 cup shredded cheese and let it rest covered until melted.
Mexican Ground Beef Skillet with Beans, Peppers, and Instant Rice
I sauté garlic, onion, and peppers, then brown 1 lb of 85% beef with taco seasoning. Add 1/2 cup tomato sauce, green chiles, a 15 oz can black beans, 1 cup instant rice, and 1.5 cups broth.
Bring to a boil, cover, and simmer 15–20 minutes. Finish with shredded cheese and serve with chips or tortillas.
Clean One-Pot Hamburger Helper with Elbows and Broth
I brown meat with garlic powder, paprika, and chili powder, then stir in tomato paste. Add 12 oz elbows and 2 cups beef broth plus 2 cups milk, or 4 cups broth for a dairy-free option.
Simmer 12–15 minutes, stirring often. Fold in cheddar off heat or skip the cheese for dairy-free richness from spices and tomato paste.
Tip: Watch for steady bubbles at low heat. If the pot dries, add hot broth a splash at a time.
Timing, Liquid Ratios, and When to Cover vs. Simmer
- Rice: plan roughly 2 cups combined liquid per cup of long-grain rice.
- Elbows: need more liquid but cook faster; stir often in wind.
- Cover whenever rice cooks or cheese needs melting; simmer uncovered only to reduce excess liquid near the end.
Simple Ingredient Swaps to Fit What I Packed
Small changes make a big difference when I cook from a cooler and a single burner.
Ground Beef Fat Percentages and Easy Meat Substitutions
I choose 80–85% ground beef for sear and flavor. If I pack leaner blends, I add a splash of oil and extra seasoning to keep the skillet juicy.
Ground pork, turkey, chicken, or venison work too. With turkey or chicken I add Worcestershire or taco seasoning so the lighter meat still tastes bold outdoors.
Rice and Pasta Choices: White, Brown, Instant, or Gluten-Free
Instant rice is my go-to when wind or low flame threatens timing. Long-grain white cooks in about 20–25 minutes if heat is steady.
Brown rice takes more liquid and time. For pasta I use elbows or a gluten-free brown rice brand that holds up when I stir often.
Broth, Tomato Sauce, and Cheese: Flavor, Sodium, and Dairy-Free Options
I carry bouillon to stretch water into broth and control sodium. A 14.5 oz can of diced tomato or a half-cup of tomato sauce adds acid and body.
Cheese is optional; shelf-stable wedges work, or I swap dairy with almond milk plus extra broth for creamy texture.
| Swap | Why I pack it | Camp tip |
|---|---|---|
| 80–85% ground beef | Better sear and fat for flavor | Brown fast, drain lightly if needed |
| Turkey / Chicken | Lower fat, lighter flavor | Add Worcestershire or taco spice |
| Instant rice / GF pasta | Fast finish; lighter cooler load | Watch boil time; stir pasta often |
| Bouillon & canned tomato | Space-saving liquids and acid | Control sodium; adjust with water |
Tip: Pack salt, pepper, garlic powder, and paprika in small packets. They lift protein and keep dinners satisfying with minimal gear.
Step-by-Step: How I Cook These Dinners at the Campsite
When I set up dinner at camp I follow a simple, repeatable sequence that keeps flavor high and fuss low.
I preheat my skillet over the stove or steady coals, then add a splash of olive oil. I press the beef into an even layer and let it brown undisturbed for 4–5 minutes to build a crust.
Camp Stove vs. Campfire
For a stove I control high heat directly, then lower the flame to simmer. Over a fire I move the pan to coals and rotate it for even heat.
I sauté onion and garlic for 3–5 minutes, then finish cooking the meat for 7–9 minutes before adding liquids and starch. When the pot reaches a boil, I drop the flame, cover, and let it simmer until tender.
Food Safety in the Wild
Keep raw meat cold: double-bag and store at the coldest spot in the cooler. Use a separate cutting board and knife to avoid cross-contamination.
Portion leftovers into sealed containers and chill promptly. I reheat with a splash of broth or water until steaming hot. Freeze without cheese for longer trips when possible.
Tip: Spoon excess fat into a sealed waste jar and pack it out—do not pour it on the ground.
| Step | Action | Timing | Camp Tip |
|---|---|---|---|
| Preheat | Heat skillet, add olive oil | 1–2 minutes | Hot pan = better sear |
| Browning | Press beef in layer, brown | 4–5 minutes | Don’t stir early |
| Aromatics | Sauté onion & garlic | 3–5 minutes | Start before adding liquids |
| Simmer & store | Bring to boil, cover, simmer; chill leftovers | Varies by starch; finish by texture | Measure water and broth to save fuel |
Serve It Up: Easy Sides, Toppings, and Next-Day Meals
A few smart add-ons turn a skillet dinner into a full meal without extra fuss. I keep a handful of shelf-stable items that lift flavor and cut prep time.
Chips, tortillas, and greens make the Mexican skillet feel like a party. I lay chips on a plate for quick nachos, warm tortillas on the pan edge for burritos, and toss a bagged spring mix as a crisp side. A spoon of tomato-based salsa or a squeeze of lime brightens each bite.
Cooling, Stashing, and Reheating with Limited Ice
I portion hot food into shallow containers so it cools fast before it goes back in the cooler. Faster cooling helps keep protein safe when ice is limited.
I stash heavy items near the bottom of the cooler, closest to ice, and keep drinks on top so the cold zone stays stable. Leftovers chilled properly last about 3–5 days; I freeze extra (without cheese) up to three months.
- I make walking-taco bowls by spooning leftover beef-and-rice over chips for an easy second-day meal.
- When reheating, I add 1/4 cup of broth or water at a time, cover, and give it a few minutes to steam so rice or pasta plumps up.
- Shelf-stable add-ons—pickled jalapeños, squeeze guacamole, or a small can of tomato sauce—refresh flavor without the fridge.
Tip: For family-style service, keep the skillet on low so seconds stay warm; rotate the pan on the grate to avoid scorching.
Ready to Eat Well Outside? Grab Your Skillet and Let’s Cook
A quick kit—skillet, oil, and a tube of tomato paste—means I can cook a hot meal in minutes at camp. I pack a small bottle of olive oil and a spice pouch so flavor travels light.
Seasonings that travel—garlic powder, paprika, chili powder, salt, and pepper—anchor my meals. I measure cups of broth or water, squeeze a tablespoon of paste, bring to a boil, then drop heat to simmer. Managing liquid keeps food from sticking and saves fuel when wind picks up.
I might swap chicken for red meat; stronger seasoning helps lighter protein pop. I finish with parsley and a pinch of paprika or shredded cheese. Pack the skillet, grab fuel, and try this recipe tonight—then post a photo by headlamp.
FAQ
How do I adapt skillet beef dinners when I only have a camping stove?
I trim the cooking steps to fit limited heat control: I pre-chop aromatics, brown the meat over medium-high to develop flavor, then lower the flame to simmer with broth or tomato sauce. I use a lid to trap heat and finish rice or pasta gently. Olive oil and a pinch of salt and pepper go a long way when fuel is scarce.
What size pan should I pack for family meals on a trip?
I bring a 10–12 inch cast-iron skillet for 3–5 people; it holds enough liquid for rice or pasta and sears meat well. For larger groups I add a 5–6 quart Dutch oven. Cast iron retains heat, reduces fuel needs, and doubles as a cook-and-serve dish.
How much liquid do I use when cooking rice or pasta with ground meat in a skillet?
I follow package ratios but reduce them slightly because the meat releases moisture. For white rice I use about 1.75 cups liquid per cup rice when cooking with meat; for pasta I start with just enough broth to cover and add more if needed. If in doubt, keep a cup of water on hand.
Can I make a low-sodium version of my camp skillet meals?
Absolutely. I swap regular broth for low-sodium or dilute strong broth with water, skip added salt until the end, and rely on garlic powder, paprika, and fresh herbs for flavor. A splash of tomato sauce adds depth without excessive sodium.
What meat fat percentage works best for quick skillet dinners?
I prefer 80/20 for flavor and browning; it gives good pan juices for the sauce. For less grease and a leaner meal I use 90/10 and add a tablespoon of olive oil to prevent sticking and boost flavor.
How do I prevent rice from sticking or burning in a single pan with meat?
I brown the meat first, reduce heat, then stir in rice and toast it briefly before adding simmering liquid. Keeping steady, moderate heat and covering the pan helps. If the edges dry, I lift the lid and add a splash of broth to redistribute moisture.
What quick swaps work if I forget fresh vegetables on a trip?
I rely on canned tomatoes, canned beans, or dehydrated bell peppers. They rehydrate in the simmering liquid and add flavor. A sprinkle of dried parsley or a squeeze of lime brightens the dish when fresh produce is missing.
How long should I brown meat over a campfire versus a camp stove?
Over a camp stove I brown meat in 6–8 minutes until no pink remains and edges caramelize. Over a campfire it can take longer and requires more temperature control; I aim for the same visual cues — even color change and searing — and rotate the skillet to avoid hotspots.
Is it safe to cool and store leftovers with limited ice?
I cool leftovers quickly by transferring to shallow containers and placing them in the coolest part of my cooler, surrounded by frozen ice packs. I eat or reheat within 24 hours when ice is limited, and I always reheat to a rolling simmer before serving.
How can I make a simple, cleaner boxed-hamburger-helper style meal outdoors?
I swap processed mixes for elbow pasta, a cup of broth, tomato sauce, and a tablespoon of butter or olive oil. I brown the meat, add pasta and liquid, then simmer covered until tender, stirring once. Finishing with shredded cheese creates that creamy texture without excess additives.
What spices should I pack for versatile flavor without extra weight?
I pack garlic powder, paprika, black pepper, and a small jar of dried parsley. These cover most profiles — savory, smoky, and fresh — and work well with broth, tomato sauce, and cheese to boost flavor while keeping my kit light.
0 Comments