Winter camping isn’t for the faint of heart, but with the right gear, you’ll be toasty while everyone else shivers at home wondering how you do it. These six essentials transform brutal cold into an epic outdoor experience you’ll actually remember fondly. Let’s get you geared up properly so you can focus on the stunning views instead of your frozen toes.
1. A Four-Season Sleeping Bag That Actually Works Below Freezing
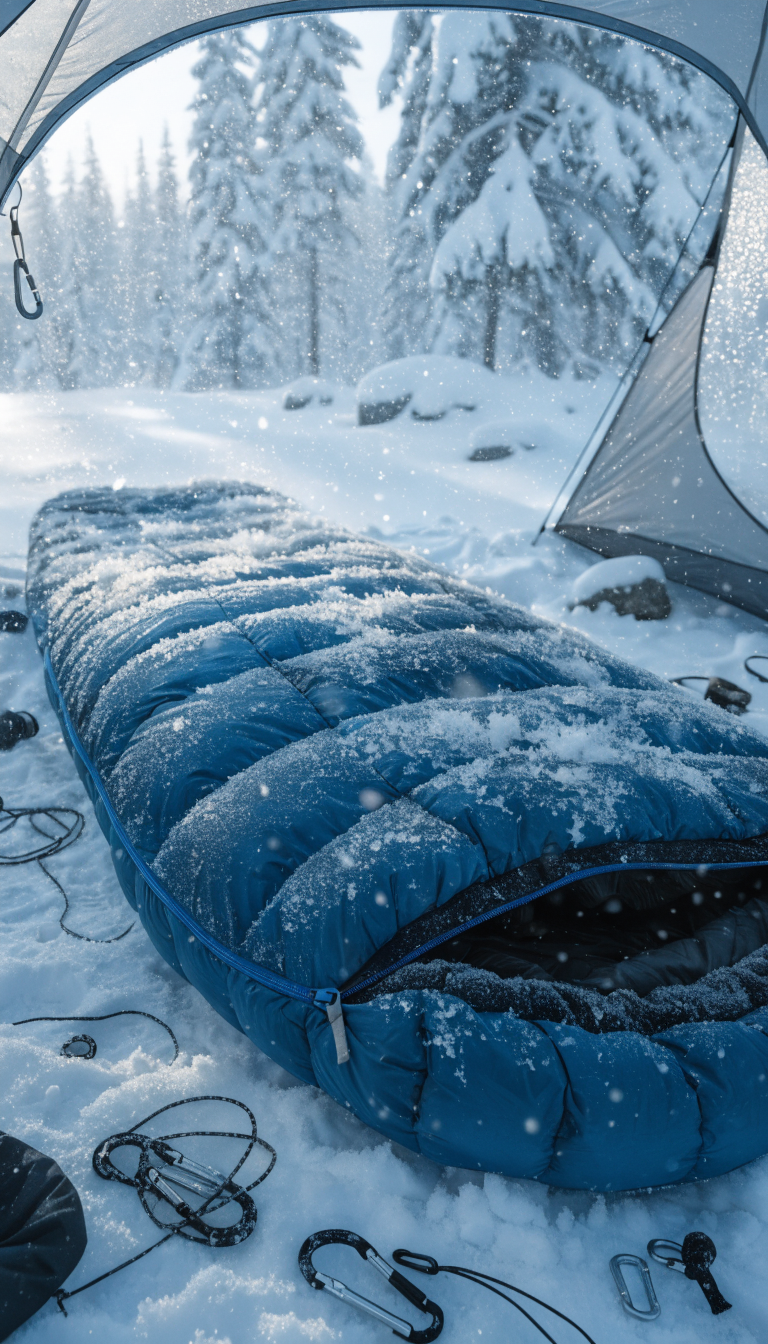
Your summer sleeping bag is cute and all, but it’s basically a death wish in winter conditions. A true four-season sleeping bag rated for temperatures well below what you expect to encounter is your first line of defense against hypothermia.
Look for bags rated at least 10-15 degrees lower than the coldest temperature you anticipate. Why? Because rating systems are optimistic, and you want wiggle room when temperatures plummet unexpectedly at 2 AM.
What Makes a Winter Sleeping Bag Different
- Down insulation (700+ fill power) or high-quality synthetic materials that trap heat efficiently
- Draft collars and tubes that prevent warm air from escaping through the zipper
- Mummy-style design that minimizes empty space you need to heat with your body
- Hood with drawstrings to keep your head warm without suffocating you
Pro tip: Get a bag that’s slightly too warm rather than too cold. You can always vent excess heat by unzipping partway, but you can’t magically add insulation when you’re freezing.
The investment feels steep upfront, but hypothermia is way more expensive. Plus, a quality bag lasts decades if you care for it properly. Store it uncompressed between trips and it’ll keep you warm for years to come.
2. An Insulated Sleeping Pad With Serious R-Value
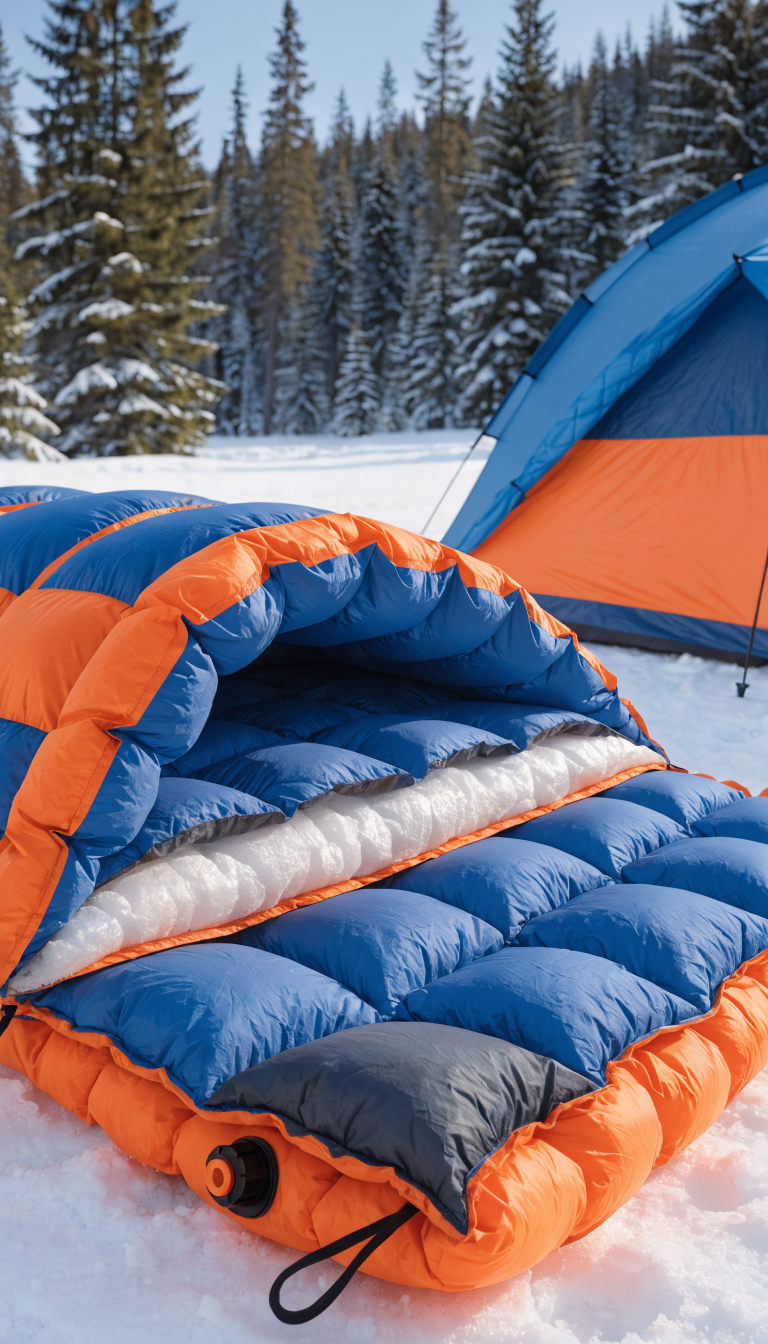
Here’s what nobody tells beginners: the ground steals your body heat faster than cold air does. You could have the world’s best sleeping bag, but without proper insulation underneath you, you’ll wake up feeling like you slept on an ice block.
The R-value measures thermal resistance, and for winter camping, you need a minimum R-value of 4, though 5-7 is better for serious cold. Seriously, this number matters more than almost any other spec.
Types of Insulated Pads
Inflatable insulated pads offer the best warmth-to-weight ratio and pack down small. Brands like Therm-a-Rest and NEMO make excellent options with built-in insulation layers that trap air pockets.
Closed-cell foam pads are nearly indestructible and work even when punctured, but they’re bulkier and less comfortable. Many winter campers use both: foam on the bottom for durability and puncture protection, inflatable on top for comfort and extra R-value.
Maximize Your Warmth
- Stack two pads if temperatures drop below zero
- Clear snow and ice from your tent site before laying down your pad
- Fully inflate your pad—underinflation reduces insulation efficiency
- Repair kits are non-negotiable; pack them always
Trust me, skimping on your sleeping pad to save money or weight is the fastest way to ruin your entire trip. Cold nights destroy morale faster than anything else in the backcountry.
3. A Reliable Four-Season Tent Built for Wind and Snow
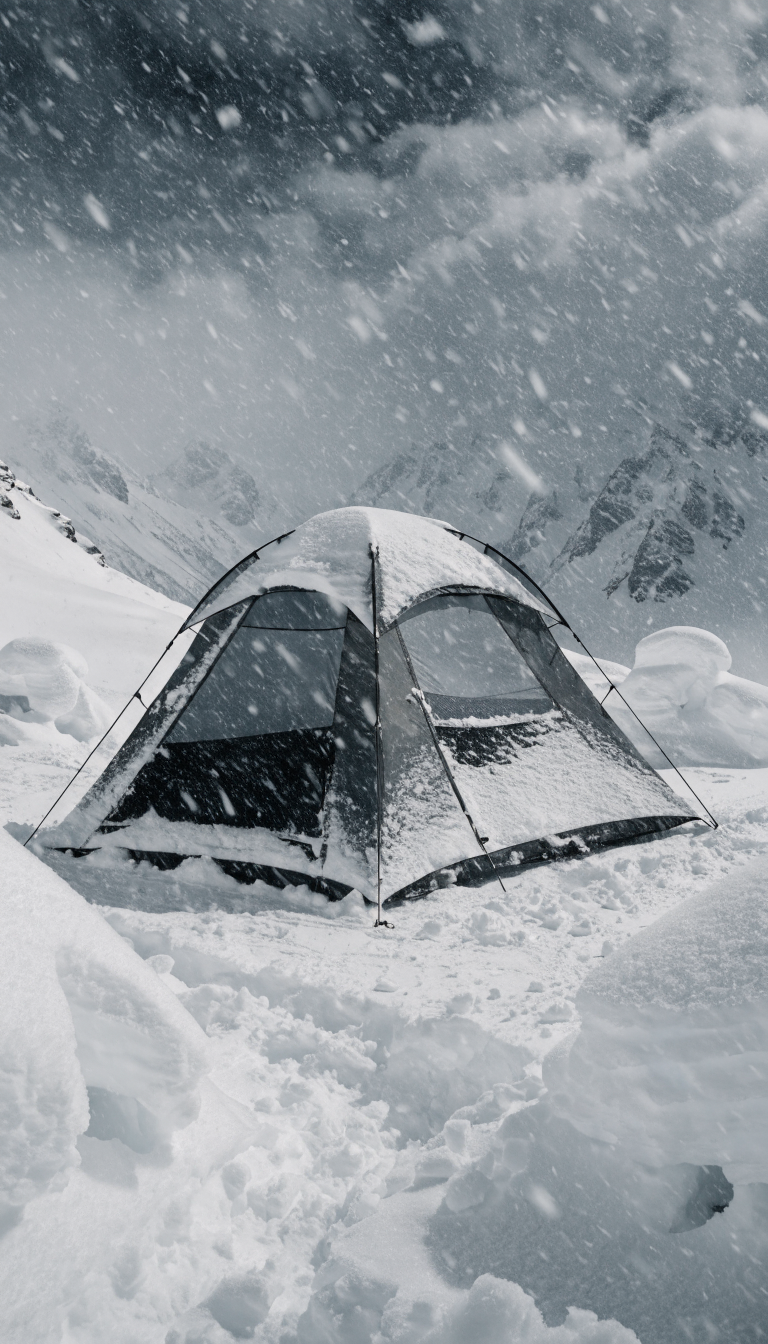
Your three-season tent might handle a light dusting of snow, but winter storms are a completely different beast. A proper four-season tent features stronger poles, fewer mesh panels, and designs that shed snow and stand up to brutal winds.
These tents sacrifice ventilation for warmth and structural integrity. The trade-off is worth it when you’re not buried under collapsed tent poles at midnight.
Key Features to Look For
- Geodesic or dome designs that distribute wind loads evenly across multiple pole intersections
- Full-coverage rainfly that extends to the ground for wind protection
- Snow skirts that seal the gap between tent and ground
- Reinforced pole sleeves and clips rated for heavy snow loads
- Vestibules for storing gear outside the sleeping area
Setup takes practice, so pitch your tent a few times at home before your trip. Fumbling with unfamiliar poles in a blizzard while wearing thick gloves is nobody’s idea of fun.
Consider the tent’s footprint too—smaller tents are easier to heat with body warmth and offer less surface area for wind to batter. Going solo or with one partner? A two-person tent is perfect. Skip the palatial four-person models unless you’re actually bringing four people.
4. Layered Clothing System That Adapts to Everything
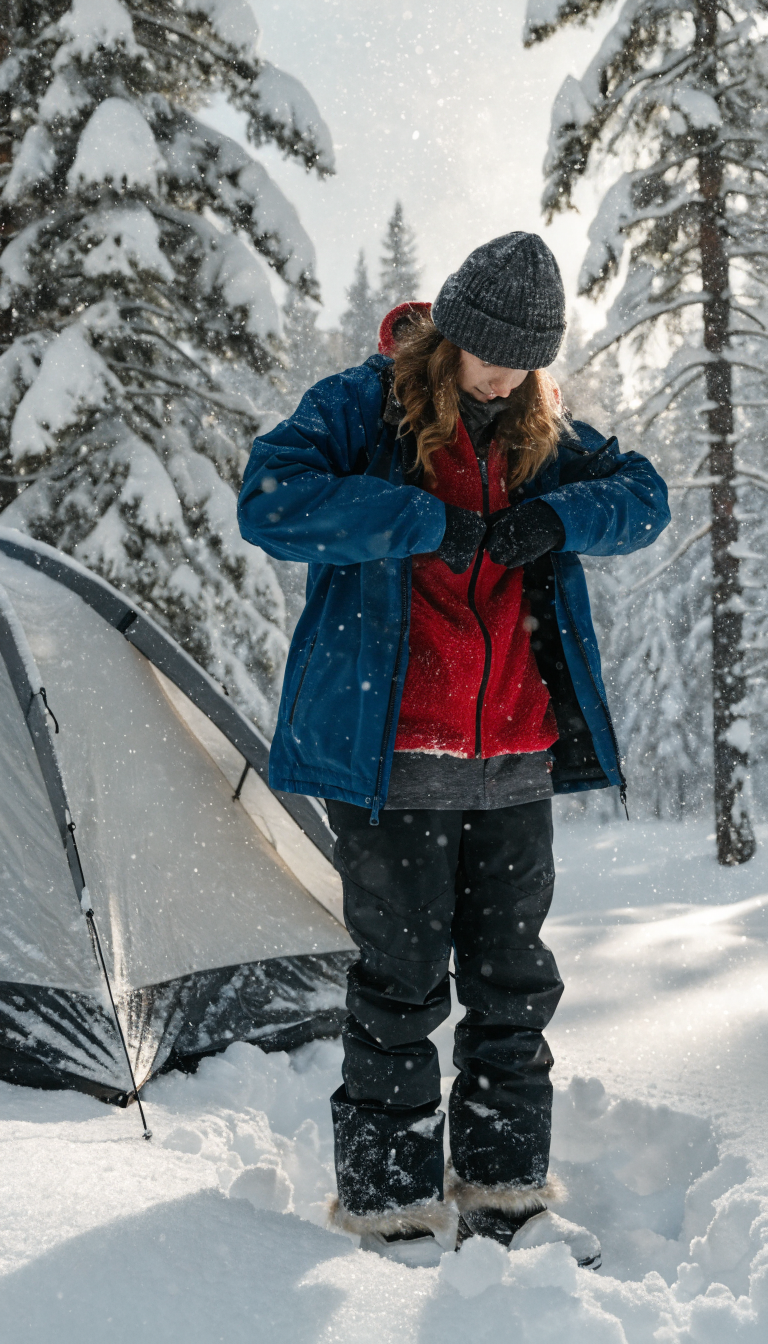
Cotton kills in winter, and that’s not dramatic—it’s just physics. Once cotton gets wet from sweat or snow, it loses all insulating ability and sucks heat from your body. The three-layer system keeps you warm, dry, and able to regulate temperature as activity levels change.
Base Layer: Moisture Management
Merino wool or synthetic fabrics wick sweat away from your skin and dry quickly. Get both tops and bottoms in midweight or heavyweight versions for winter conditions.
Skip the cheap polyester—it stinks almost immediately. Quality merino wool naturally resists odors, which matters when you’re wearing the same clothes for days.
Mid Layer: Insulation
Fleece or down jackets trap warm air close to your body. Fleece breathes better during high-output activities like snowshoeing or setting up camp, while down offers unbeatable warmth-to-weight ratio for stationary moments.
Bring both if you have room. Layer them together when temperatures really drop, or wear them separately as conditions change throughout the day.
Outer Layer: Weather Protection
Waterproof, breathable shell jackets and pants block wind, rain, and snow while letting moisture vapor escape. Look for pit zips and leg vents to dump excess heat during intense activity.
- Gore-Tex and similar membranes work well but cost more
- Budget alternatives like proprietary waterproof coatings function adequately
- Sealed seams prevent water infiltration at stitching points
- Adjustable hoods, cuffs, and hems seal out the elements
The beauty of this system? You constantly adjust layers as you warm up or cool down. Hiking uphill? Strip to your base layer. Stopped for lunch? Pile everything back on before you get chilled.
5. Winter-Specific Boots and a Backup Pair of Socks
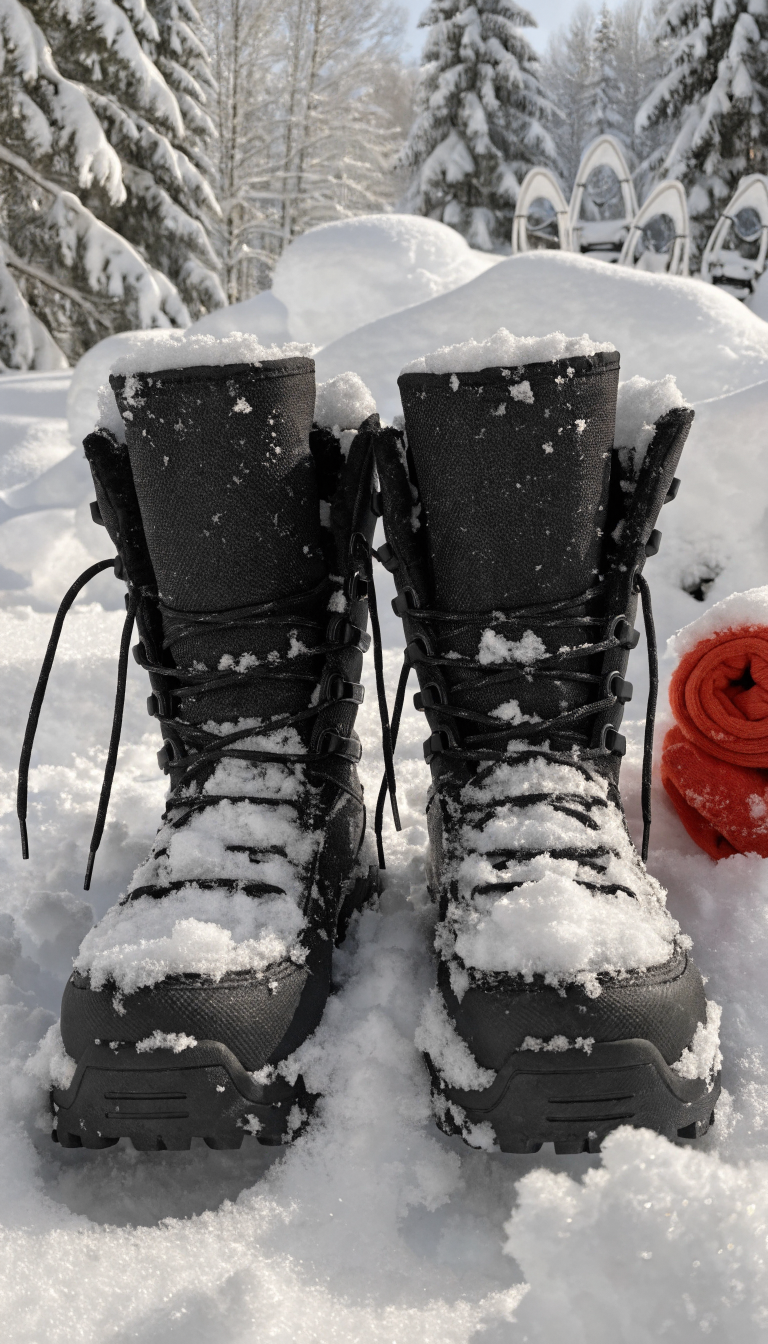
Your feet take the worst beating in winter camping, so insulated, waterproof boots rated for extreme cold are absolutely essential. Frostbite starts in your extremities, and frozen toes can end your trip fast.
Look for boots rated to at least -25°F if you’re serious about winter camping. These feature thick insulation, waterproof membranes, and aggressive treads for traction on snow and ice.
Boot Features That Matter
- Removable liners that you can dry overnight in your sleeping bag
- Gusseted tongues that prevent snow from entering
- High tops that keep snow out when you’re trudging through drifts
- Crampon-compatible soles if you’ll encounter ice
Now about those socks: bring multiple pairs of thick wool or synthetic blend socks. When one pair gets damp from sweat, swap them out immediately. Sleeping with damp socks inside your bag helps dry them using body heat overnight.
FYI, vapor barrier liners worn over a thin sock but under your main sock can prevent sweat from reaching your insulation. They feel weird at first but keep your boots drier over multi-day trips.
6. Reliable Lighting and Fire-Starting Tools for Safety
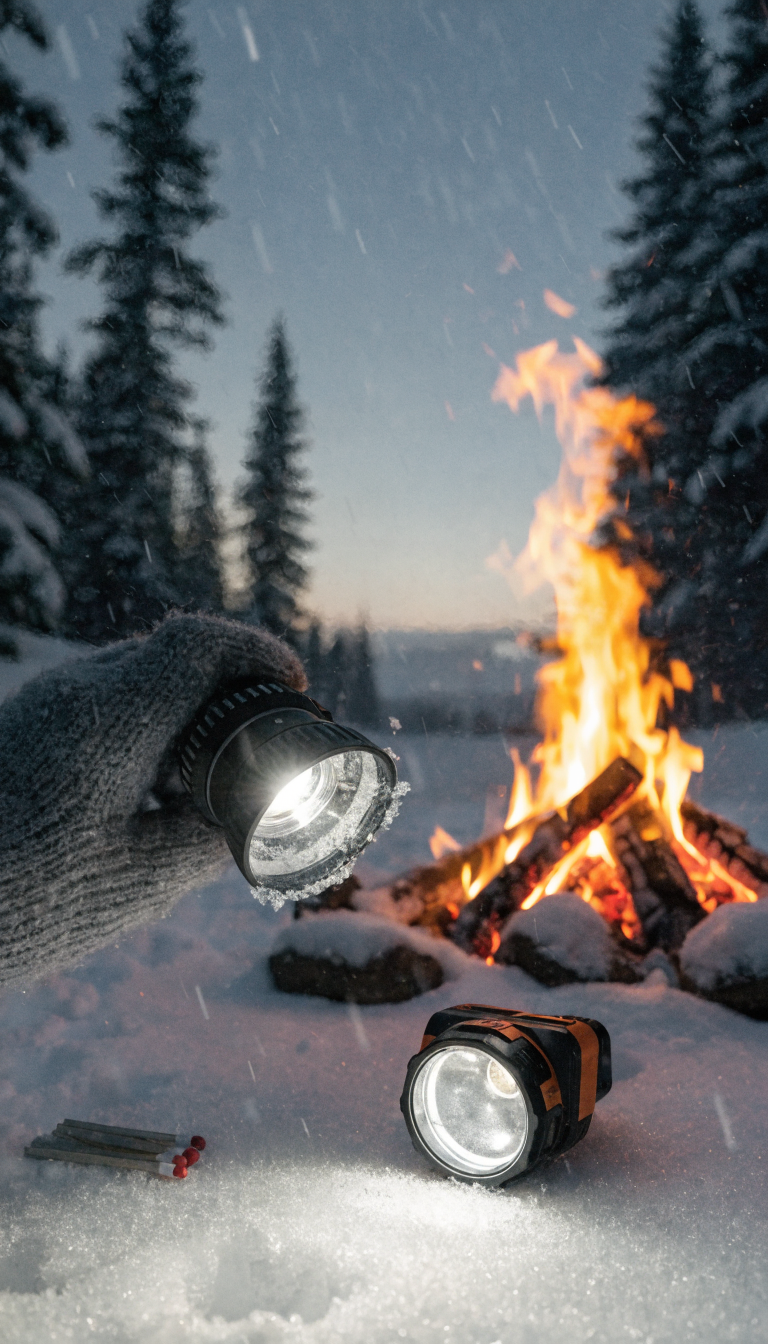
Winter days are short, and darkness comes fast. You need dependable lighting and multiple fire-starting methods because your life might literally depend on them if things go sideways.
Lighting Solutions
Headlamps with extra batteries stored in your sleeping bag (cold kills battery life fast) keep your hands free for tasks. Bring a backup headlamp too—redundancy matters in winter.
LED lanterns create ambient light inside your tent and last for hours on a single charge. Some campers also pack candle lanterns, which provide both light and a small amount of heat, though you need proper ventilation.
Fire-Starting Arsenal
- Waterproof matches in multiple locations (pack, pockets, emergency kit)
- Butane lighters that work in cold temps, plus backup lighters
- Magnesium fire starters that function when wet
- Fire starter cubes or homemade tinder (dryer lint in wax works great)
- Fatwood or birch bark for natural tinder that lights easily
Practice starting fires in challenging conditions before your trip. Your ability to quickly start a fire in wet, windy, or snowy conditions could save you from hypothermia in an emergency.
Keep your fire-starting tools dry by storing them in waterproof bags. Distribute them across different locations so you have backups if one bag gets wet or lost. Redundancy isn’t paranoia in winter—it’s smart planning.
Winter camping pushes your limits and rewards you with solitude, stunning landscapes, and the deep satisfaction of thriving in harsh conditions. These six essentials form the foundation of a safe, comfortable winter camping setup that lets you focus on the experience instead of survival. Gear up properly, respect the conditions, and get out there—the winter wilderness is waiting and it’s absolutely worth it.
—
Meta Description: Winter camping essentials that keep you warm and safe: sleeping bags, pads, tents, clothing layers, boots, and safety gear for epic cold-weather adventures.
Main Keyword: “winter camping essentials”
Slug: winter-camping-essentials-keep-warm-safe-ready


0 Comments